How to Build a DIY Rustic Bench – Free Building Plans
This post may contain affiliate links · This blog generates income via ads
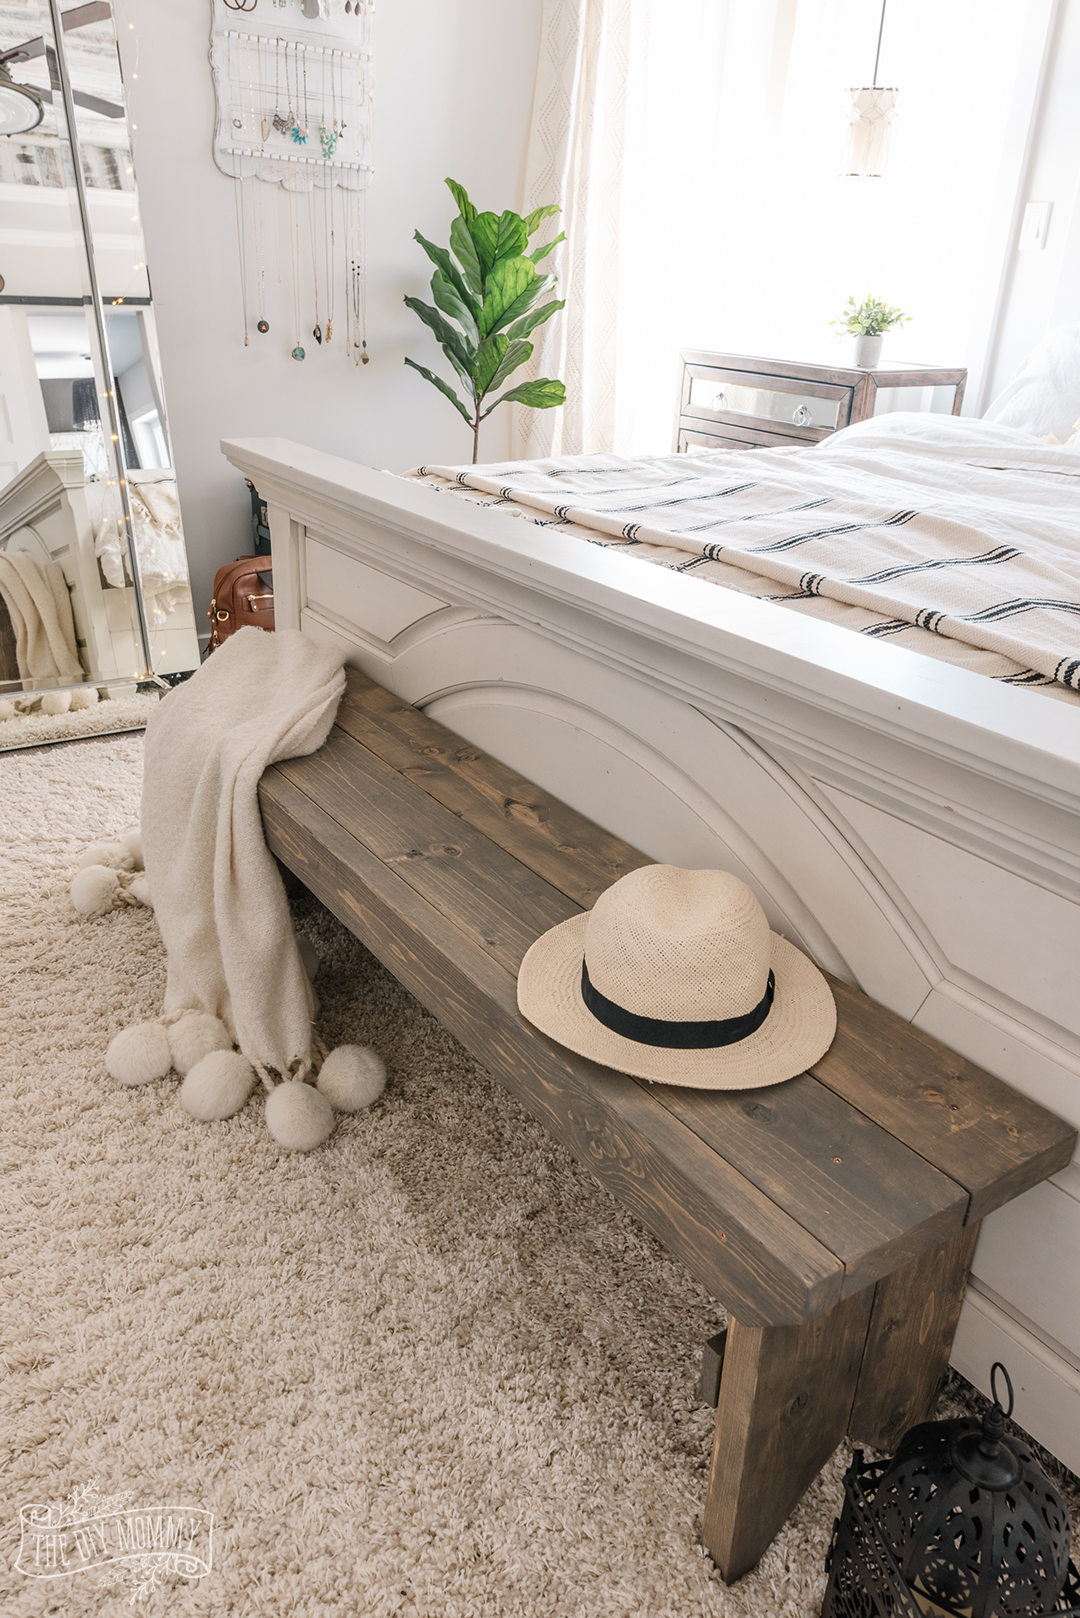
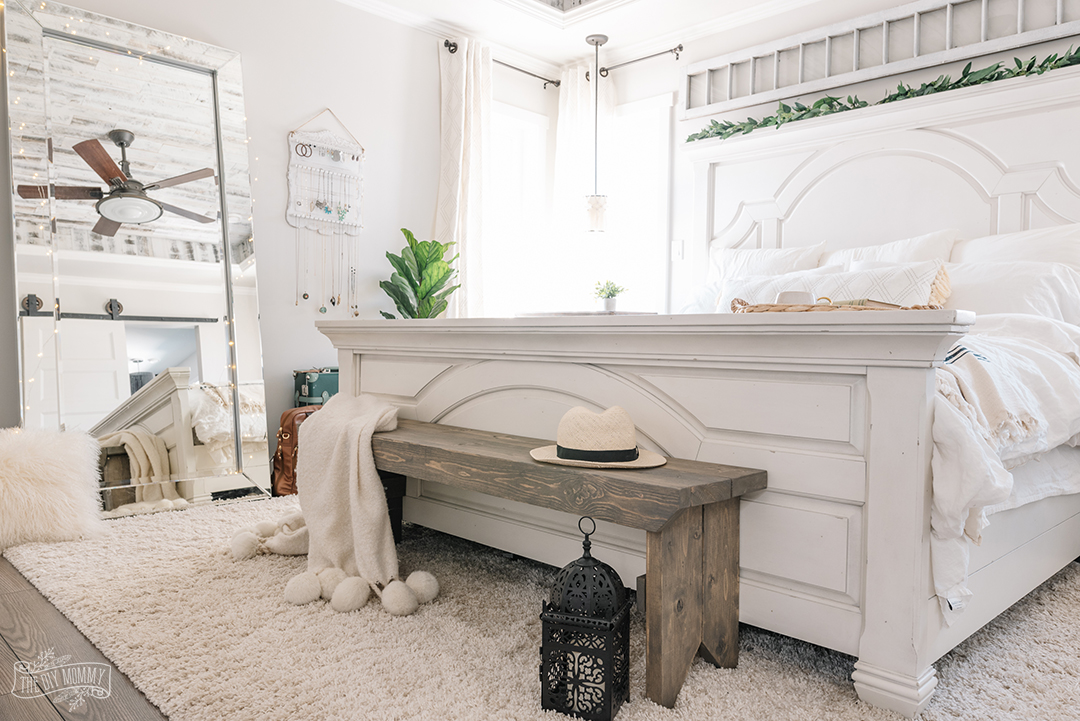
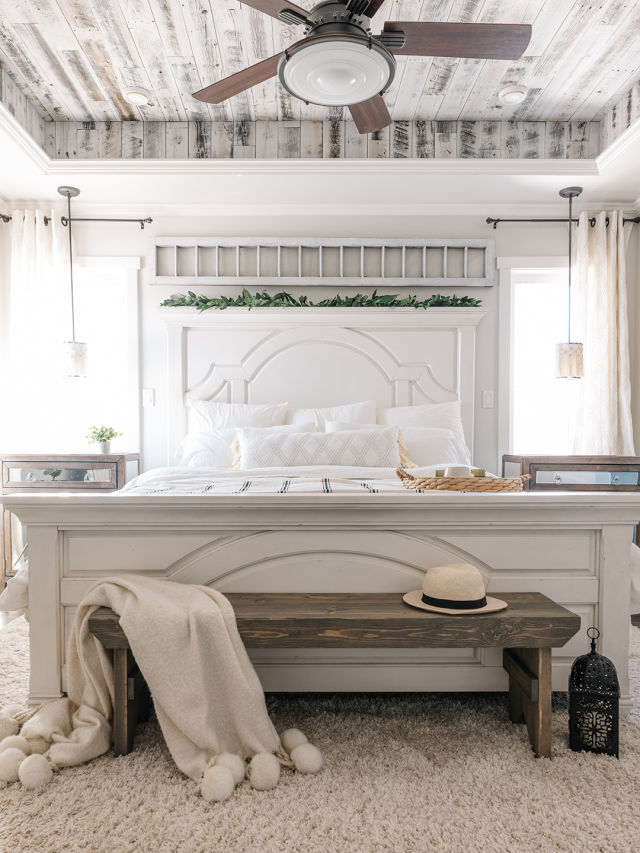
Learn how to build a DIY rustic bench with these free building plans. This primitive look bench is perfect for the end of a bed, a mud room, or to use as an outdoor coffee table.
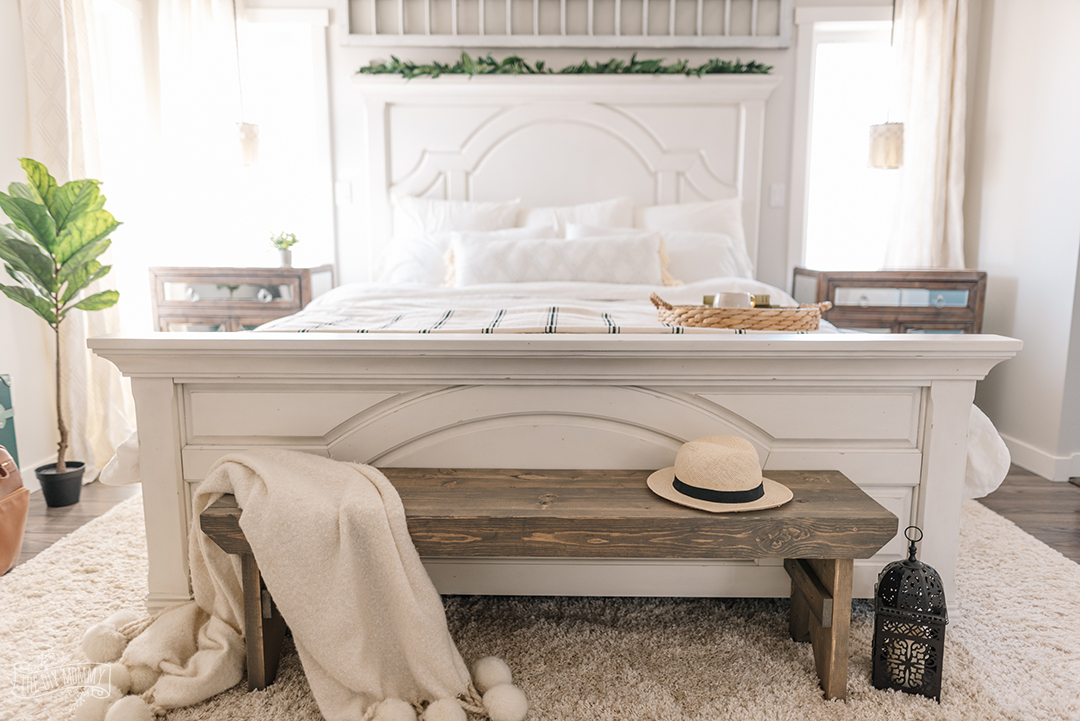
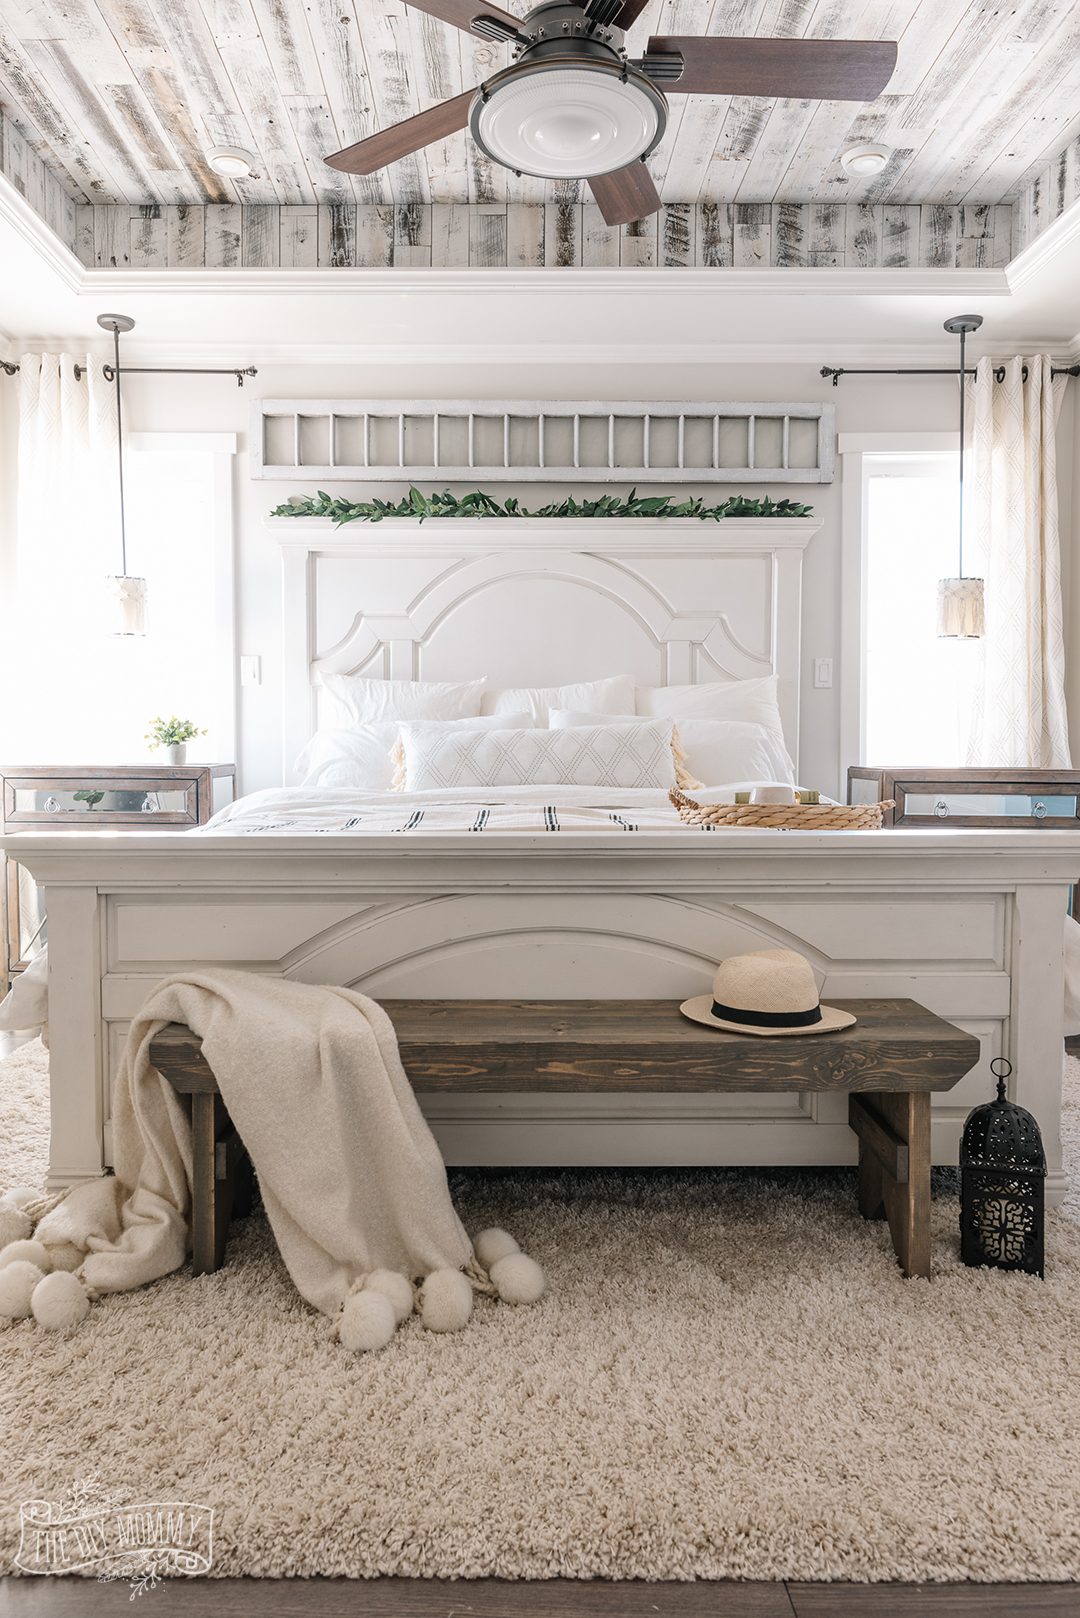
I made this DIY rustic bench a little while ago when I gave our bedroom a no-cost makeover and I got a lot of questions about it!
Today, I’m finally sharing the simple building plans for the bench with you.
This primitive bench is a wonderful beginner’s woodworking project, and it only uses a few 2×4’s and 2×6’s so it’s very inexpensive to build.
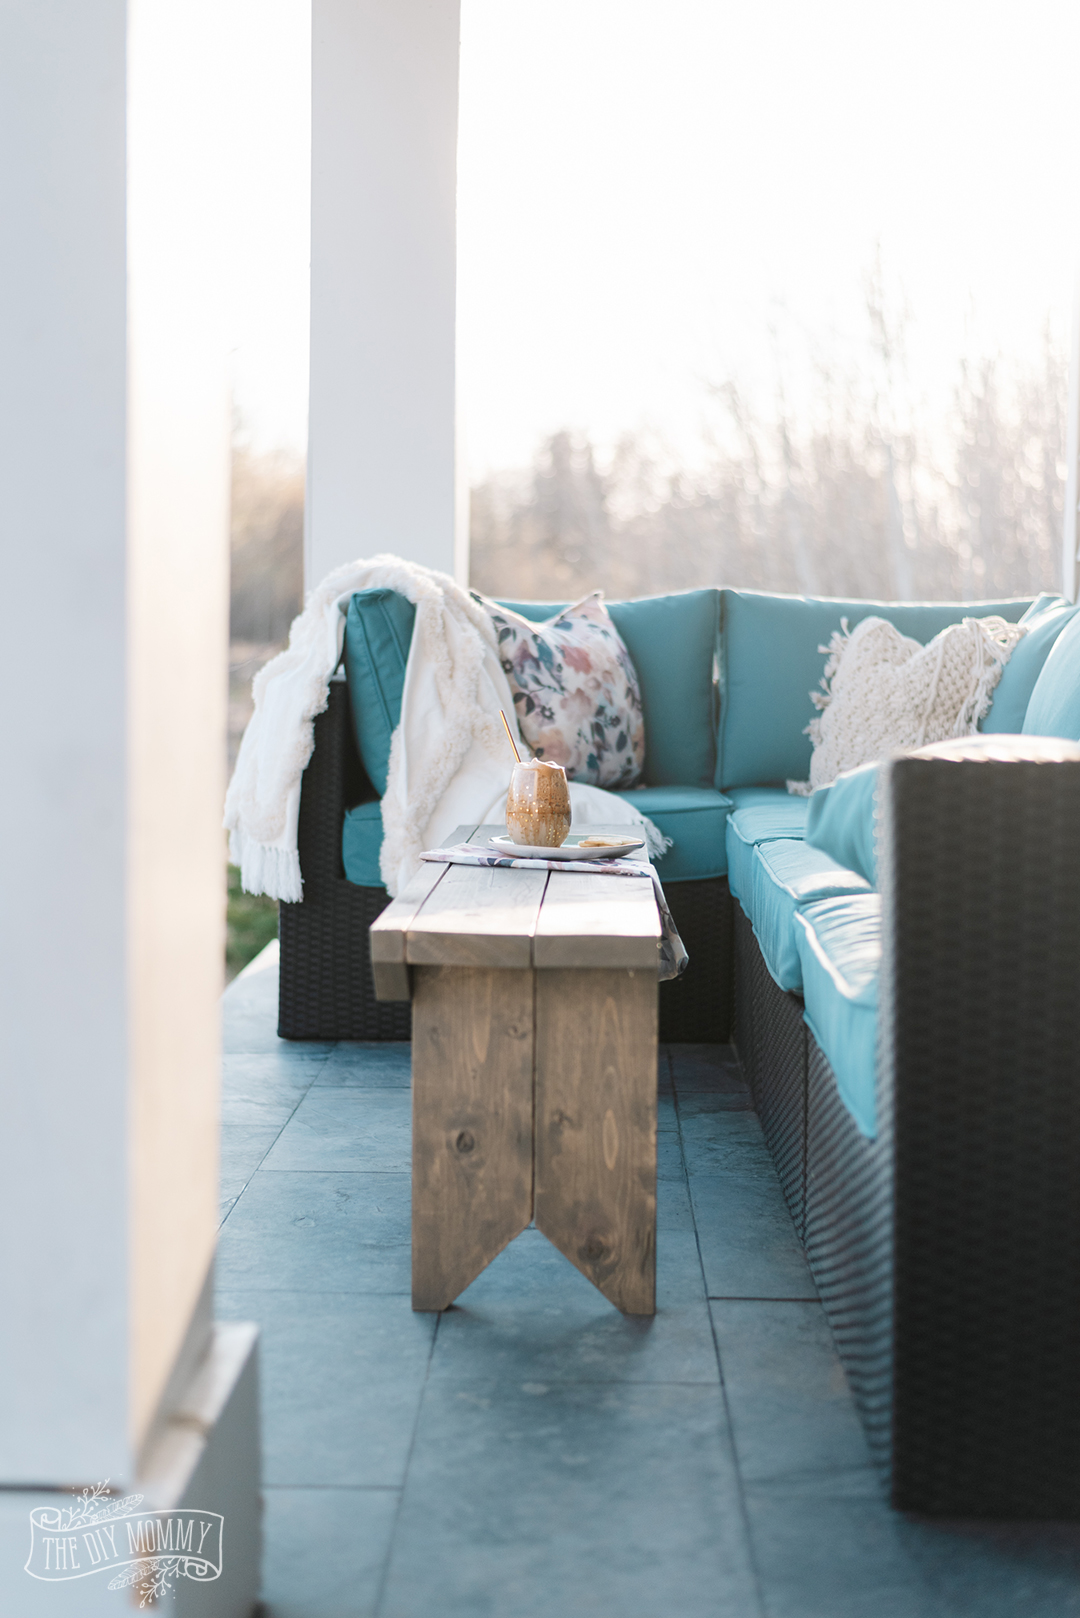
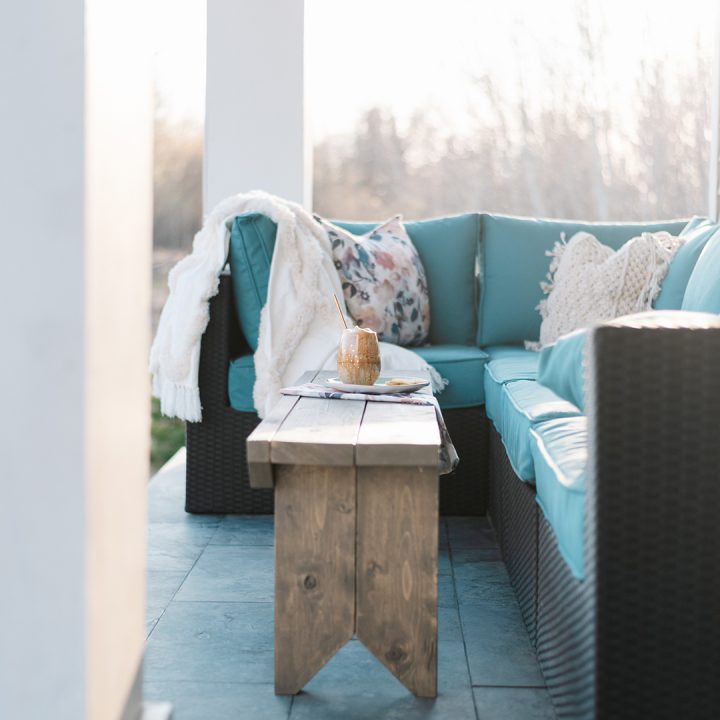
Not only does this DIY bench look great at the end of a bed, but it also works as an outdoor coffee table. Here it is on our porch!
Ready to build this simple, rustic bench! Let’s go!
Materials:
*Note: If you want to make the bench a different width, adjust your materials and cut list accordingly.
- one 2 x 6 x 10 (I used pine) piece of lumber
- one 2 x 6 x 8 piece of lumber
- one 2 x 4 x 10 piece of lumber (or one 2 x 4 x 8 if you only want one vertical piece on the top front)
- one 1 x 3 x 6 piece of lumber
- wood stain
- 2″ long deck screws
- drill
- sandpaper / electric sander
- miter saw
Cut List:
- four 1’4″ long 2 x 6
- two 11″ long 1 x 3
- two 4′ 3″ long 2 x 6
- two 4’3″ long 2 x 4
*NOTE: If you want to stain this piece, you can stain each piece after cutting and before assembling to give the finished bench its best look.
Instructions:
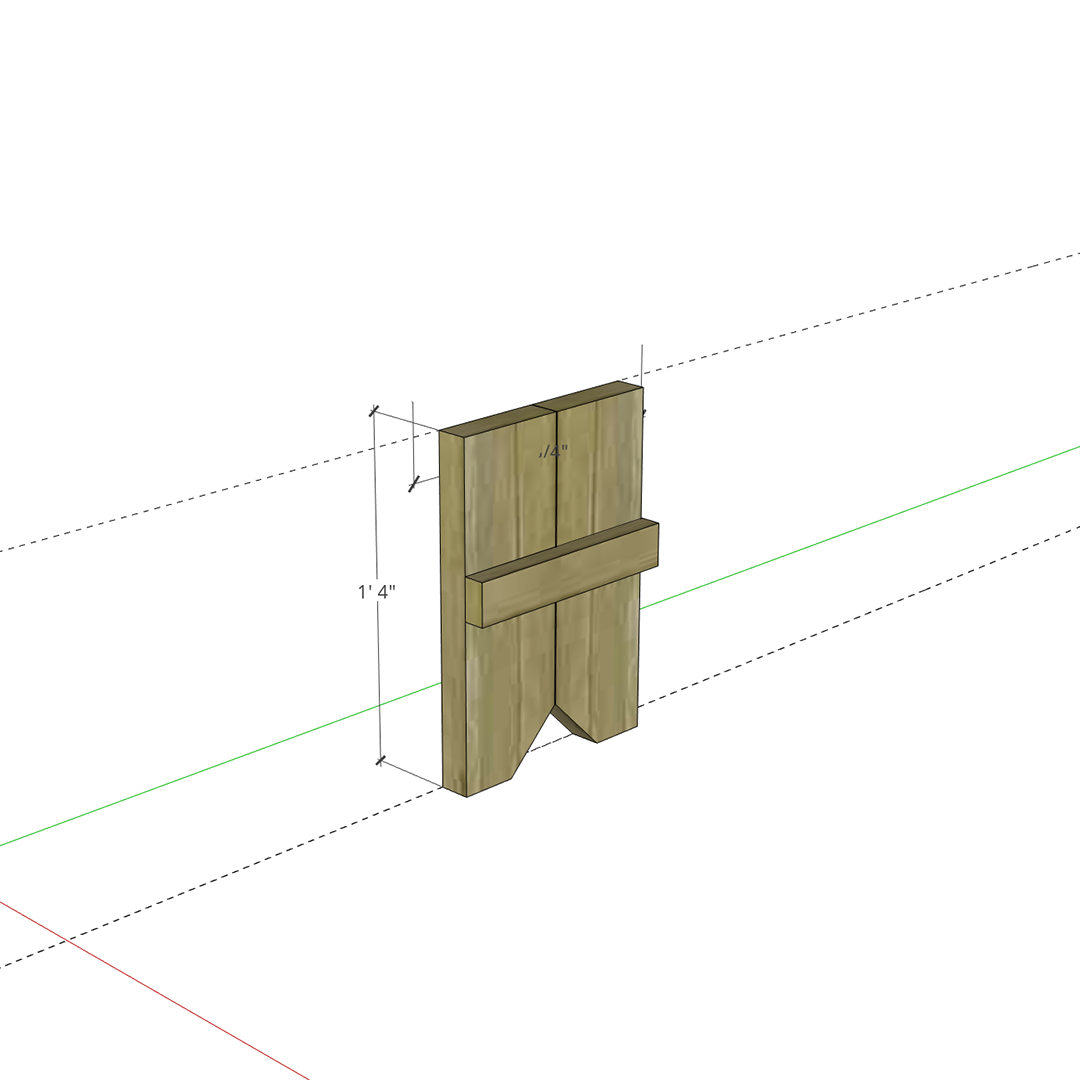
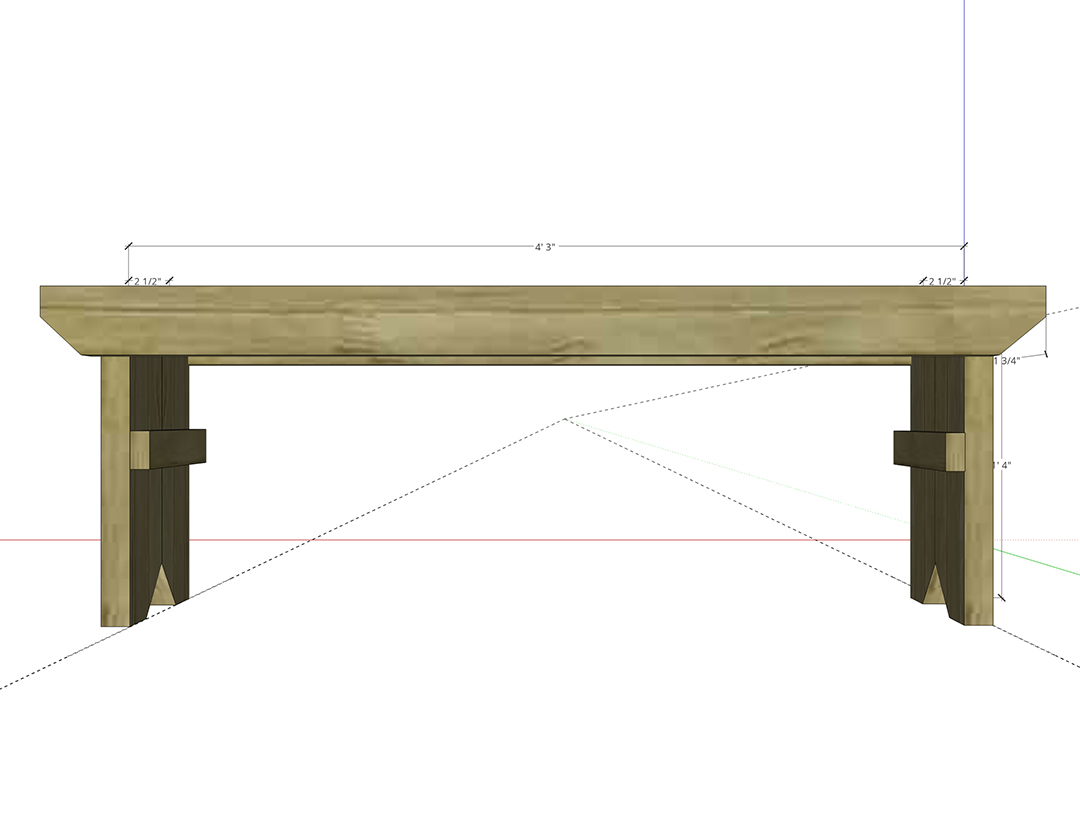
First, cut the leg pieces from the 2 x 6 x 8 lumber with a mitre saw. You’ll need four 1’4″ long pieces. Then, cut an angle off of one side of the bottom of each piece. Use the illustration above as a guide, but cut the angle however you think looks best for your bench.
Then, cut two pieces from the 1 x 3 x 6 lumber that are 11″ long to create braces.
Place two of the leg pieces together with the angled cuts facing as shown above. Then, lay a brace piece over top about 1/2 way from the tops of the legs. Secure it in place with two deck screws. Repeat to build a second leg.
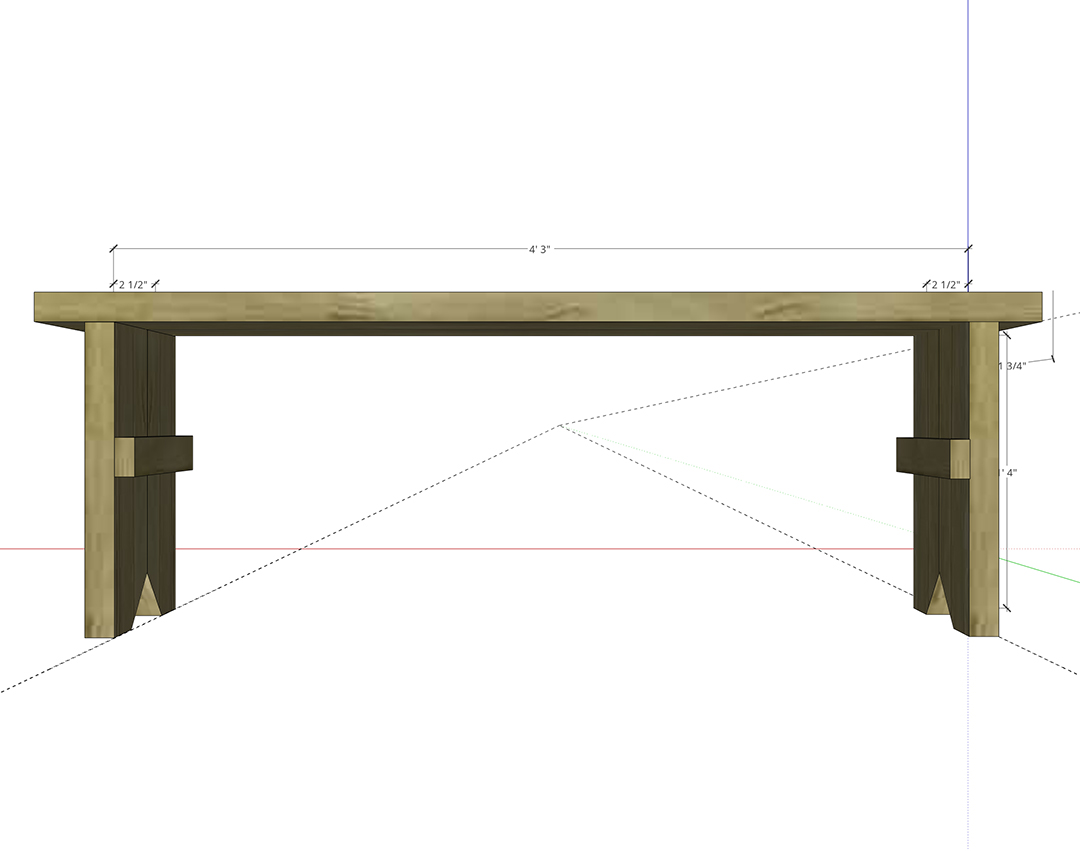
Next, cut two 4’3″ pieces from the 2 x 6 x 10 to create the top bench pieces. Secure these to each leg with 2-4 deck screws so that the legs are about 2 1/2″ from each edge.
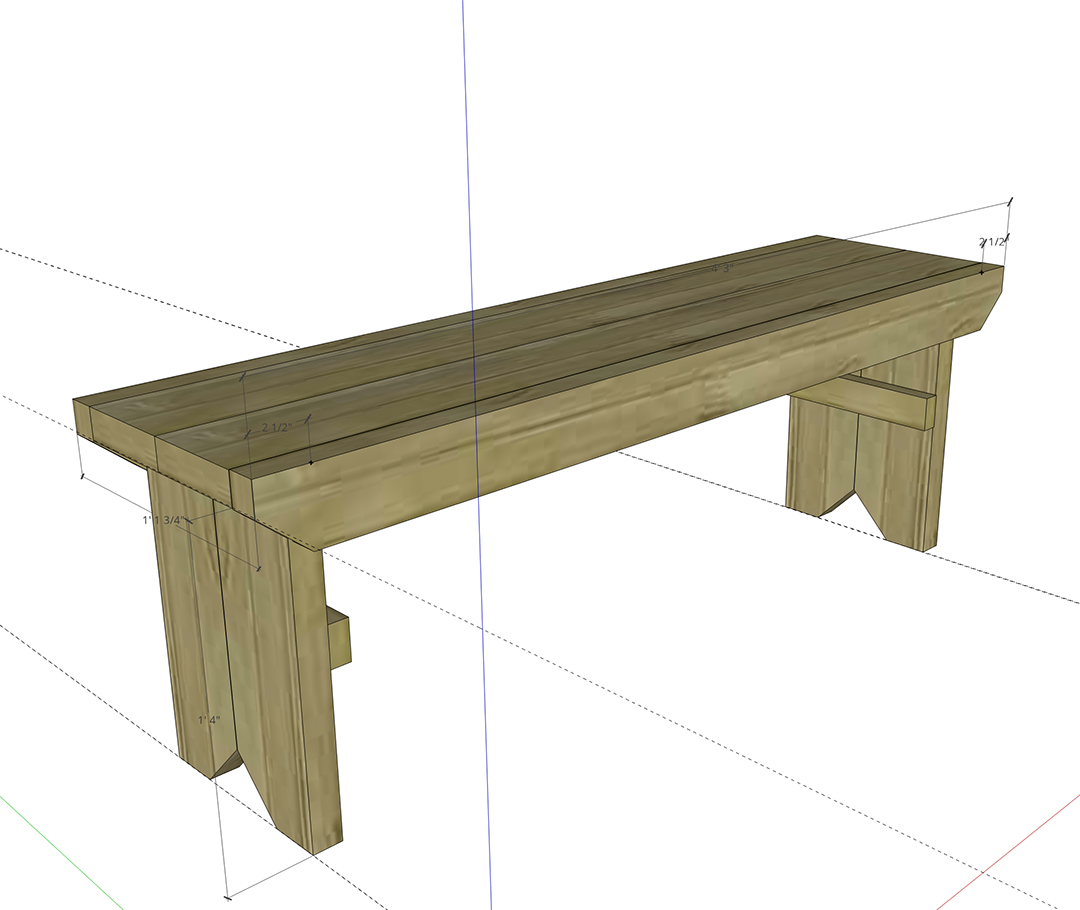
Finally, cut two 4’3″ pieces from the 2 x 4 x 10. (You could also cut just one piece if you only want one horizontal trim piece on the front of the bench, like the one I created.) Cut an angle on each side of each piece as illustrated above.
Attach these pieces to the front and back of the bench top sides with 4-6 deck screws.
Finish the piece with a clear coat of poly if desired.
You’re all done! Enjoy!
PIN ME:
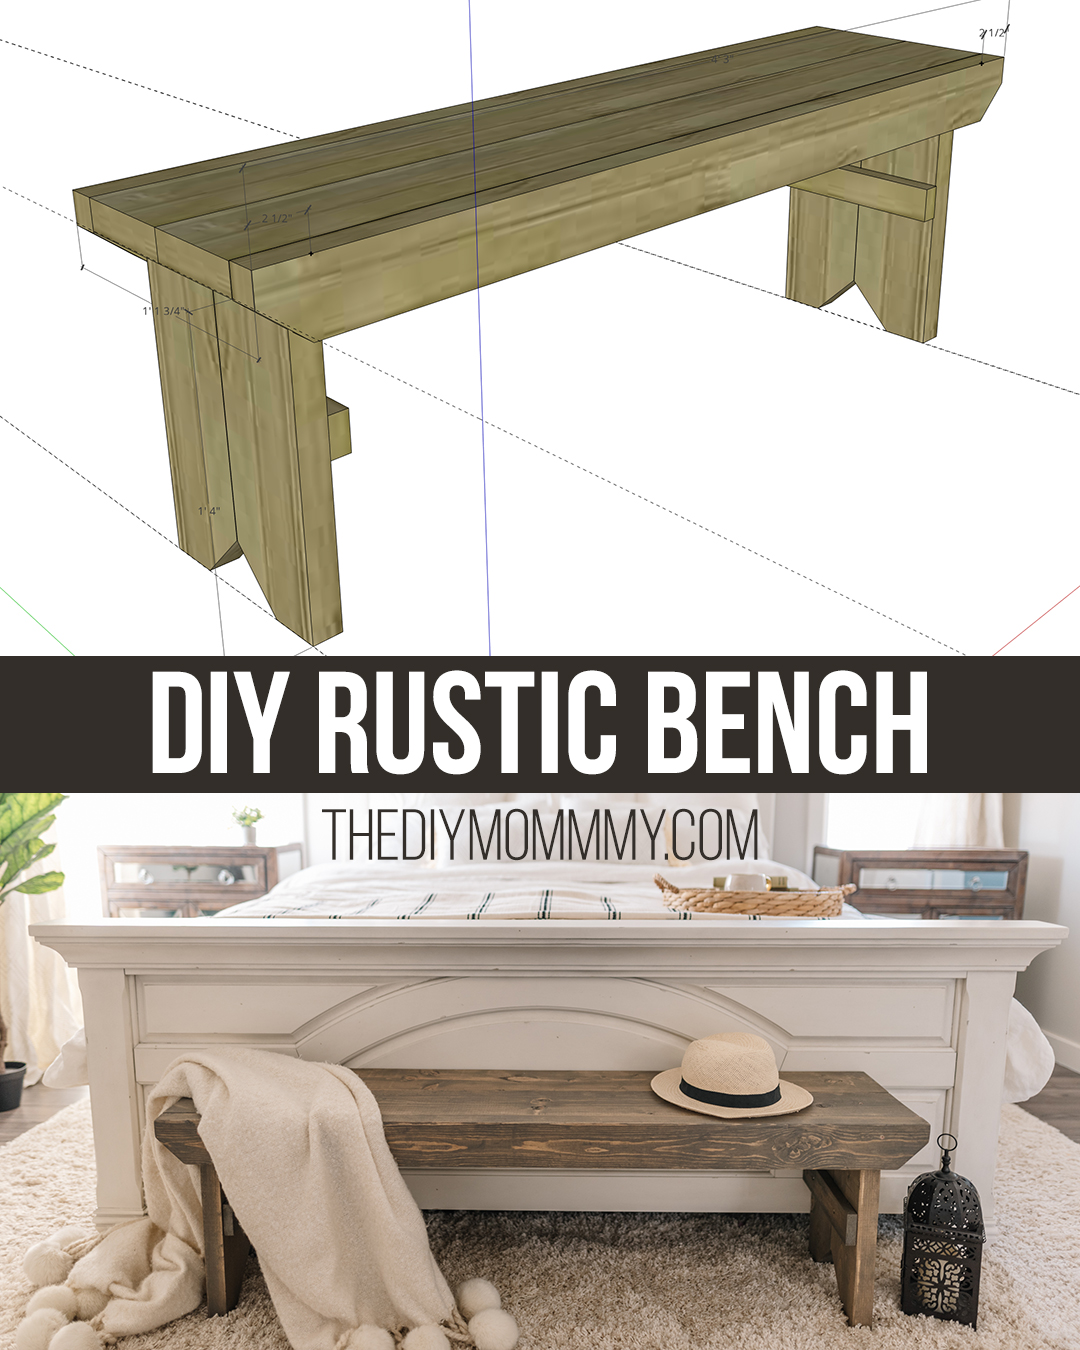
How to Build a DIY Rustic Bench
This primitive look bench is perfect for the end of a bed, a mud room, or to use as an outdoor coffee table.
Materials
- one 2 x 6 x 10 (I used pine) piece of lumber
- one 2 x 6 x 8 piece of lumber
- one 2 x 4 x 10 piece of lumber (or one 2 x 4 x 8 if you only want one vertical piece on the top front)
- one 1 x 3 x 6 piece of lumber
- wood stain
- 2″ long deck screws
Tools
- drill
- sandpaper / electric sander
- miter saw
Instructions
First, cut the leg pieces from the 2 x 6 x 8 lumber with a mitre saw. You’ll need four 1’4″ long pieces. Then, cut an angle off of one side of the bottom of each piece. Use the illustration above as a guide, but cut the angle however you think looks best for your bench.
Then, cut two pieces from the 1 x 3 x 6 lumber that are 11″ long to create braces.
Place two of the leg pieces together with the angled cuts facing as shown above. Then, lay a brace piece over top about 1/2 way from the tops of the legs. Secure it in place with two deck screws. Repeat to build a second leg.
Next, cut two 4’3″ pieces from the 2 x 6 x 10 to create the top bench pieces. Secure these to each leg with 2-4 deck screws so that the legs are about 2 1/2″ from each edge.
Finally, cut two 4’3″ pieces from the 2 x 4 x 10. (You could also cut just one piece if you only want one horizontal trim piece on the front of the bench, like the one I created.) Cut an angle on each side of each piece as illustrated above.
Attach these pieces to the front and back of the bench top sides with 4-6 deck screws.
Finish the piece with a clear coat of poly if desired.
You’re all done! Enjoy!
Thank you! so much for sharing…loved it❤️
Thank you for sharing this lovely bench that good to be place in room. beautiful
Thank you so much for this bench plan. I just built mine today (little different but not by much) and it turned out great 🙂
What color and brand of stain did you use. It is beautiful.
Plans well written for easy clarity – so simple and exactly what I was wanting for my tiny cabin in the woods. Primitive and perfect!! Txs so much!