Make a Mermaid Sequin Drawstring Backpack
This post may contain affiliate links · This blog generates income via ads
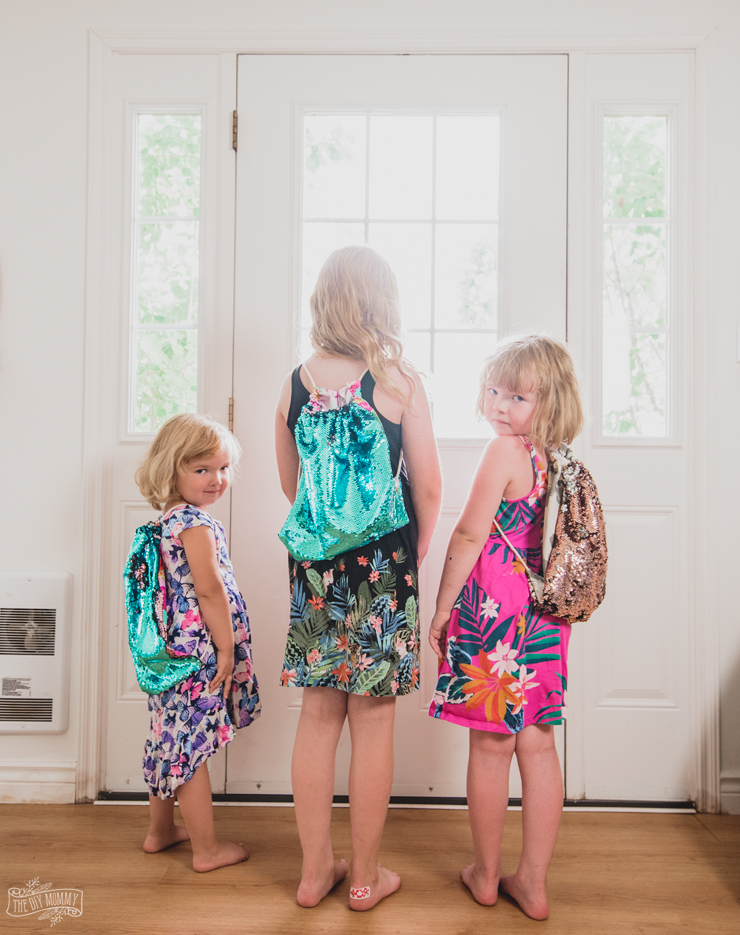
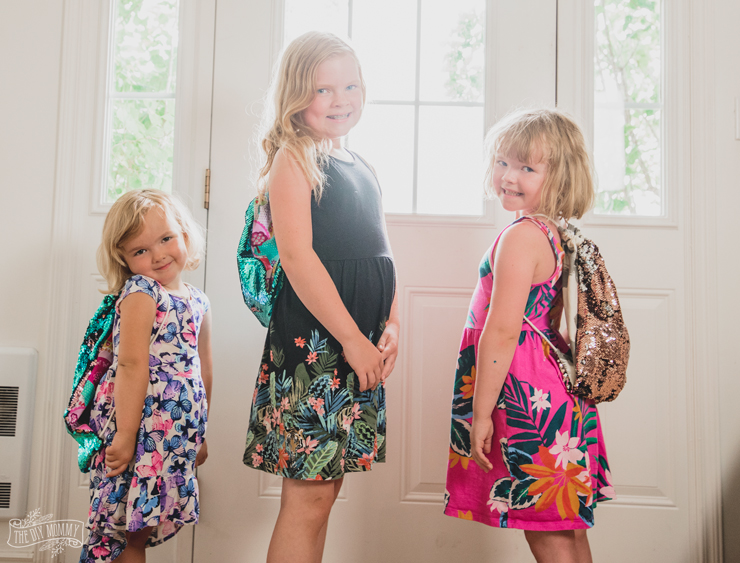
Learn how to sew a simple drawstring backpack that’s made special with sparkly mermaid sequin fabric. This is a great beginner’s sewing project and the perfect back-to-school DIY!
My 3 girls are already excited to go back to school this year (they head to playschool, grade 2, and grade 4 this September), and we’re trying hard to be on the ball and get all of our school supplies ready so that we’re not scrambling at the end of the month.
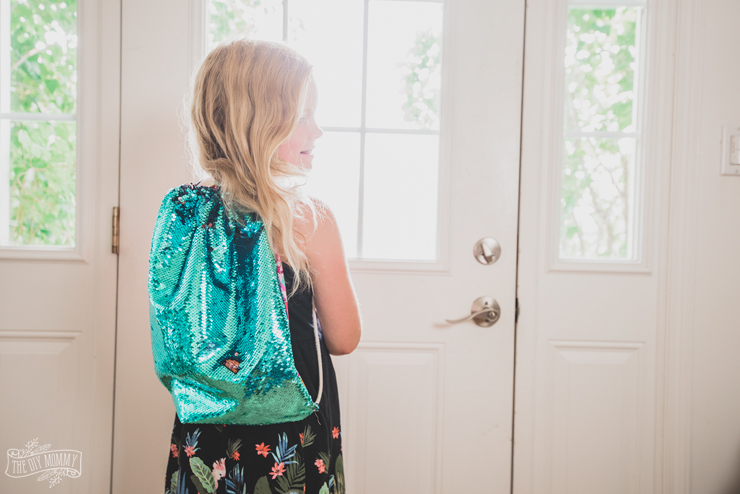
They all still love “flip sequins” (or “mermaid sequins” – the ones that change colour when you flip them), and we have some beautiful mermaid sequin fabric I found on Amazon left over from our DIY mermaid sequin pillows. Using some of this fabric ans some cotton quilting fabric scraps I had on hand, we made these cute mermaid sequin drawstring backpacks that are really easy to sew! These are great little bags for traveling in the summertime, or to use as book bags when school starts.
Mermaid sequin fabric: https://amzn.to/2KzLhIm (USA) or https://amzn.to/2KxopZU (Canada)
Watch our video below to see how my kids and I made these adorable mermaid sequin backpacks with drawstrings, and then see the step-by-step directions below the video:
How to make a mermaid sequin drawstring backpack:

Cut a rectangle of cotton quilting fabric and a rectangle of mermaid sequin fabric that each measure 14 x 18 inches

Cut TWO rectangles of cotton quilting fabric that measure 7 1/2 x 18 inches each (see our video for a shortcut we used for the cutting).

Place the two smaller rectangles right sides together and sew them together with a 1/2″ seam allowance along the long side. Leave a 3″ opening at the top. This creates the back of your backpack.

Place the back piece of the backpack right side up, place the sequin fabric on top of that right side down, and then place the last remaining rectangle of quilting fabric on top of that right side up. Pin them all together.

Sew all of the layers together along 3 sides. Leave the top open, and leave two 1/2″ unsewn holes at each of the bottom corners of the bag for the cord.

Zigzag around all of the raw edges including the seam, the top, and the opening on the top back piece.

Fold the edges of the opening on the back piece in and sew them in place.

Fold the top opening of the back down about 1″ towards the inside of the bag. Sew in place to create a casing.

Thread a long piece of cotton cording through the casing of the bag, and then pull each end through the small holes you left at the bottom corners of the bag.

Sew the cording in place by sewing the holes shut.
All done!
Make sure to subscribe to our new The DIY Kids YouTube channel for more kid-friendly DIY ideas!
Disclosure: We are a participant in the Amazon Services LLC Associates Program, an affiliate advertising program designed to provide a means for us to earn fees by linking to Amazon.com and affiliated sites.
IT’S ACTUALLY QUITE EASY TO MAKE. THESE THINGS ARE ACTUALLY THINGS ONE CAN DO, BUT WE PAY LESS ATTENTION TO THEM. THANKS FOR THIS INFORMATIVE POST