Sew a DIY Pillow Cover in Velvet with an Exposed Zipper
This post may contain affiliate links · This blog generates income via ads
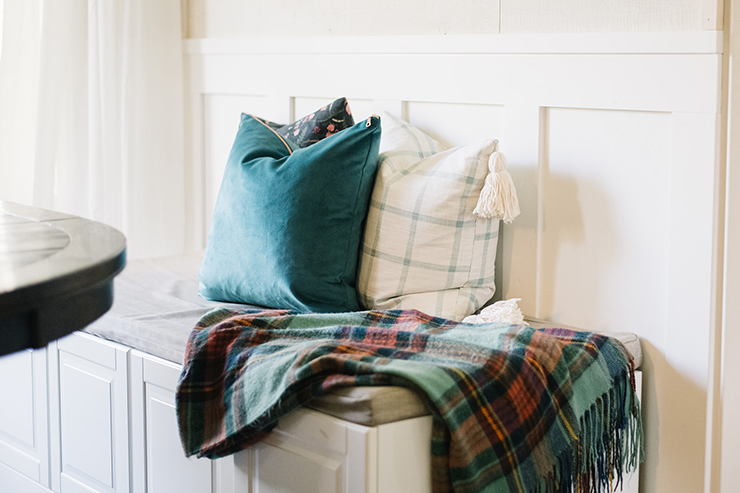
Learn how to make a DIY pillow cover in a luxurious velvet fabric with an exposed metallic zipper! This is a gorgeous handmade pillow option for Fall and Winter decor.
Velvet’s always been a fabric fabric of mine, and I especially love it in the colder months for its soft and warm look.
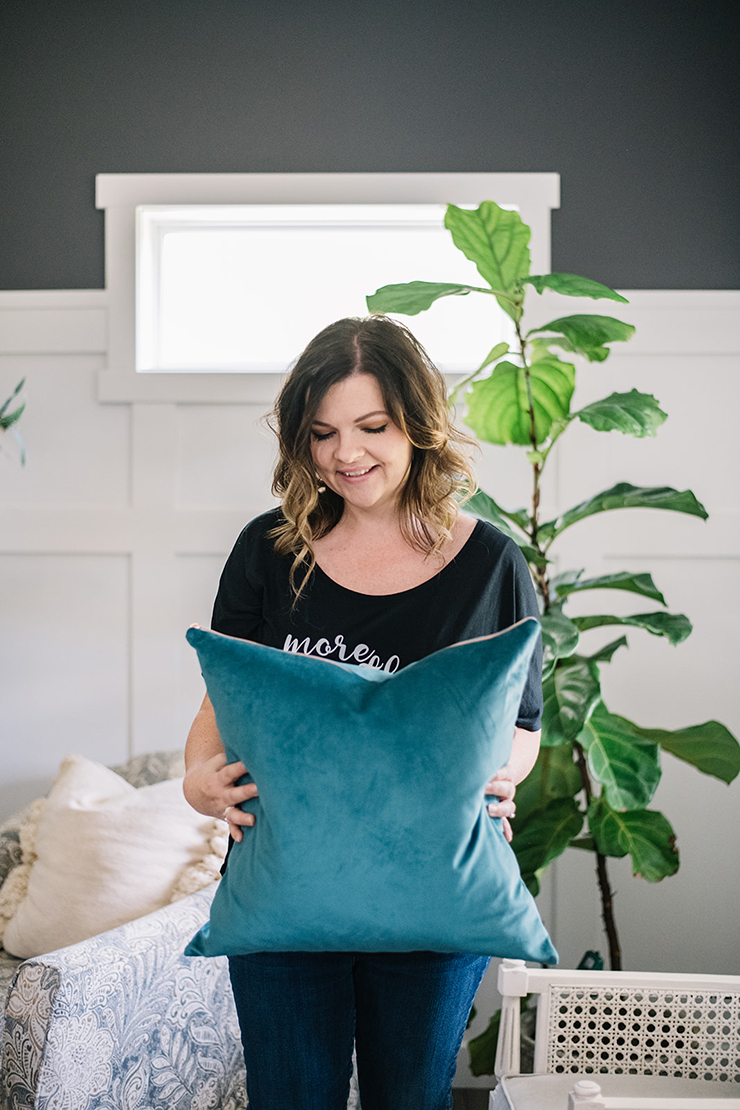
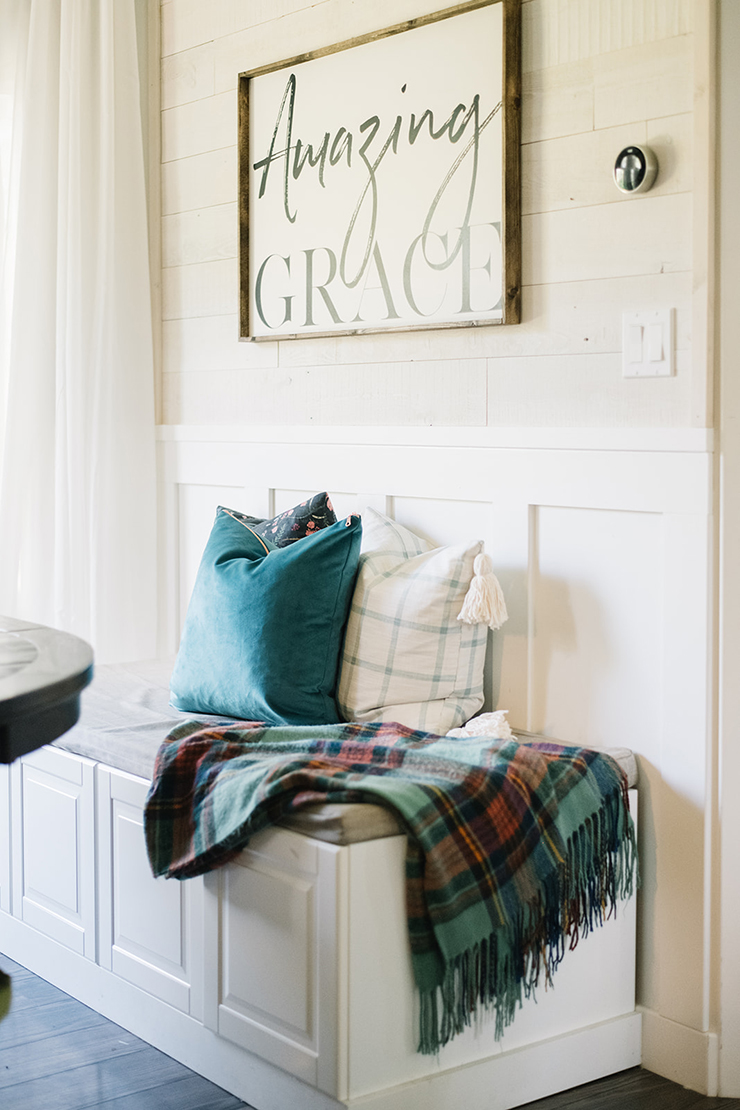
These teal velvet pillows were feature in my Fall home tour, and I love them so much because they have a beautiful copper coloured exposed zipper!
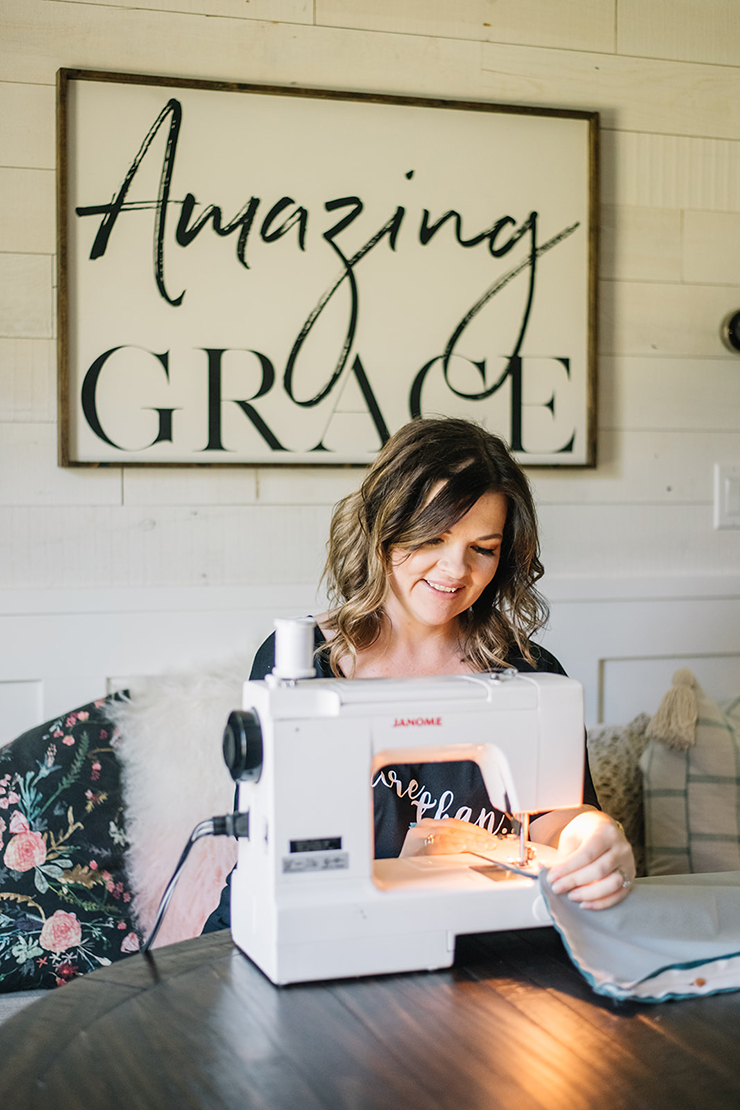
Watch my YouTube video tutorial to learn how to make these DIY velvet pillow covers, or follow the written instructions below:
Materials:

(This post contains affiliate links. By purchasing any item via these links, I receive a small commission at no extra cost to you.)
- pillow insert (I love the Ikea 20 x 20″ down inserts)
- velvet fabric (enough for the size of your pillow insert x 2)
- metallic continuous zipper
- pins
- thread
- sewing machine
- scissors
- ruler
- fabric pencil
Directions:
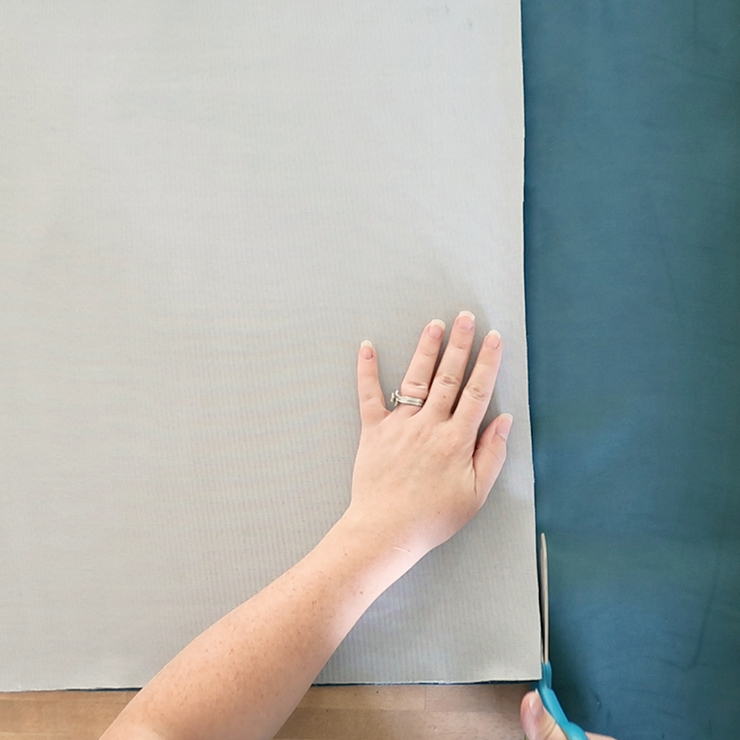
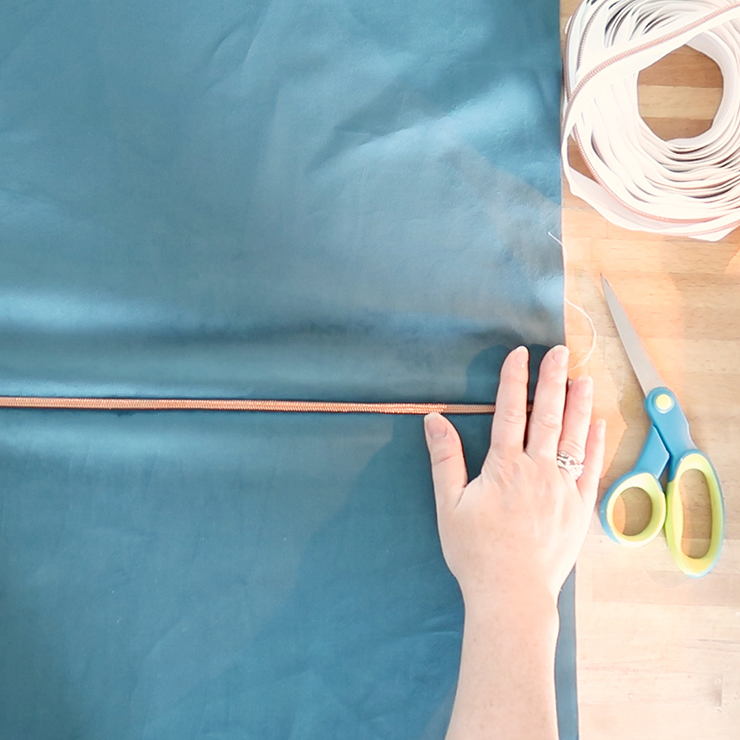
Use a ruler, pencil and scissors to measure and cut two squares of the velvet fabric that are the same size as your pillow form. Mine are 20 x 20″ each.
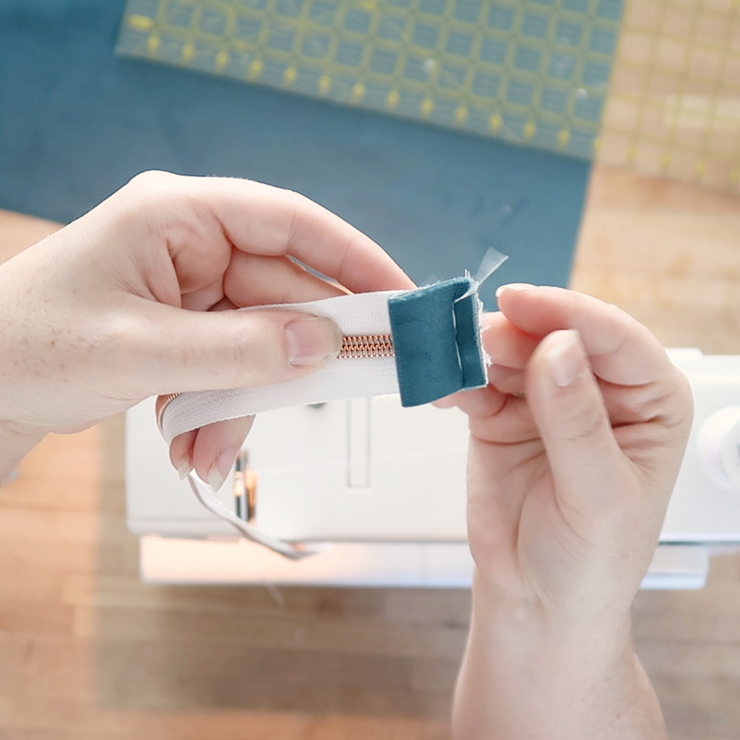
Thread a zipper head onto the continuous zipper, and cut the zipper to fit the width of the fabric squares. Cut out two rectangles of velvet fabric that measure approximately 1 x 2″. Fold those in half horizontally, and sew them to each end of the zipper with the raw sides matching.

Pin the zipper to one edge of the large square of fabric, right sides together.

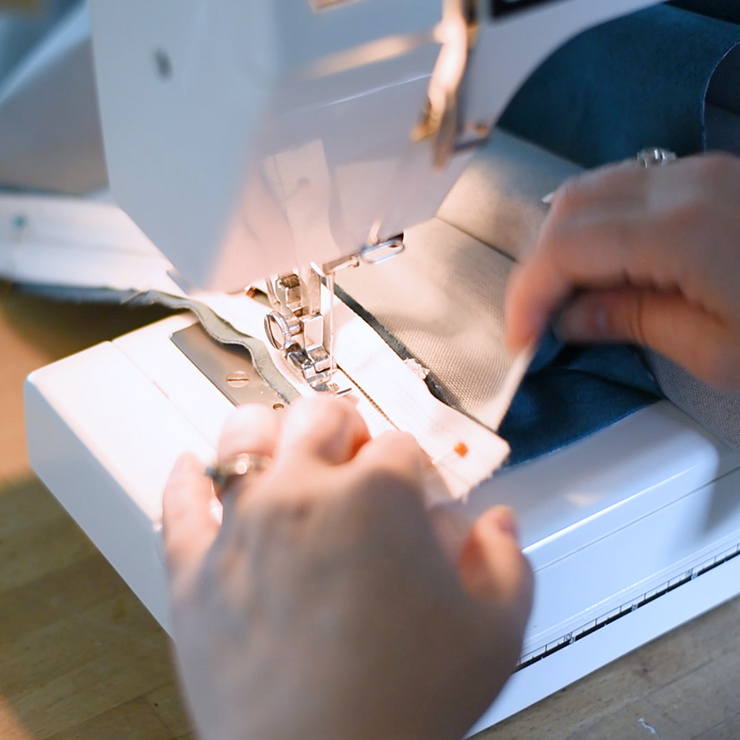
Using a zipper foot, sew the zipper to the top edge of the fabric, sewing as close to the zipper as possible.

Open up the zipper, place it with the pillow square right-side-up, and then place the second large square of fabric right-side-down on top of the zipper and first square of fabric. Make sure the nap of the velvet matches on each piece of fabric. Pin the edge of the zipper to the edge of the second piece of fabric.
Using the zipper foot, sew the second piece of fabric to the zipper.
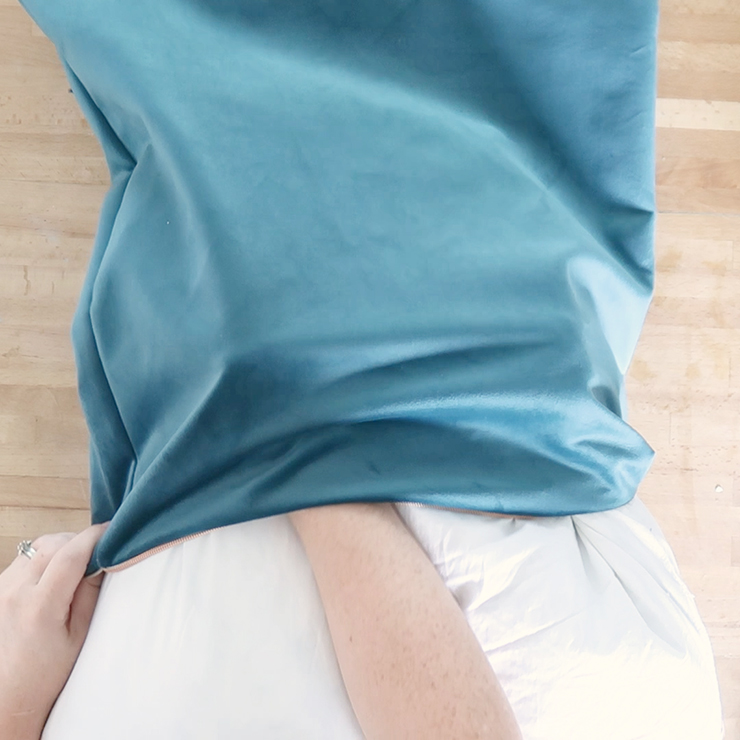
Here’s what your fabric pieces should look like with the zipper in place, opened up to the right side:
Now, place the fabric pieces right sides together again, matching all the corners and sides and pinning in place.

Sew the pieces together on all three sides using a 1/2″ seam allowance. You may have to hand-crank your machine over the zipper portion so that you don’t break a needle!
Clip the corners at a diagonal, and turn the pillow case right-side-out. Stuff you pillow form inside, zip your cover up, and you’re done!
Now tell me: Wold you make these velvet pillow covers for your home?
Is there a Canadian link for the zippers?
What a lovely DIY velvet pillow… and your tutorial is perfect! We are so blessed to have you at Tuesday Turn About, Christina!
Hey Christina, love you site and check out the new stuff all the time ! I was trying to find the 20×20 pillow inserts at IKEA with no luck, would it be possible for you to send a link?
Thanks for all the wonderful ideas from a fellow Canadian!
Wow great idea. Thank you for share your idea.