Make a Tiered Herb Planter with Dollar Store Buckets
This post may contain affiliate links · This blog generates income via ads
Let’s make a tiered herb planter with metal dollar store buckets! This is a simple DIY, and it’s so practical too. A couple of years ago I made this simple herb planter and I totally forgot to blog about it! It’s a really easy idea, but I definitely loved it and have been refreshing the planter yearly. The best part is that it cost me less than $15 to make! Today’s blog post is in collaboration with some of my favourite blogging friends. After you check out my DIY garden idea, make sure to visit their gardening ideas linked at the bottom of this post!
 A couple of years ago I made this simple herb planter and I totally forgot to blog about it! It’s a really easy idea, but I definitely loved it and have been refreshing the planter yearly. The best part is that it cost me less than $15 to make!
 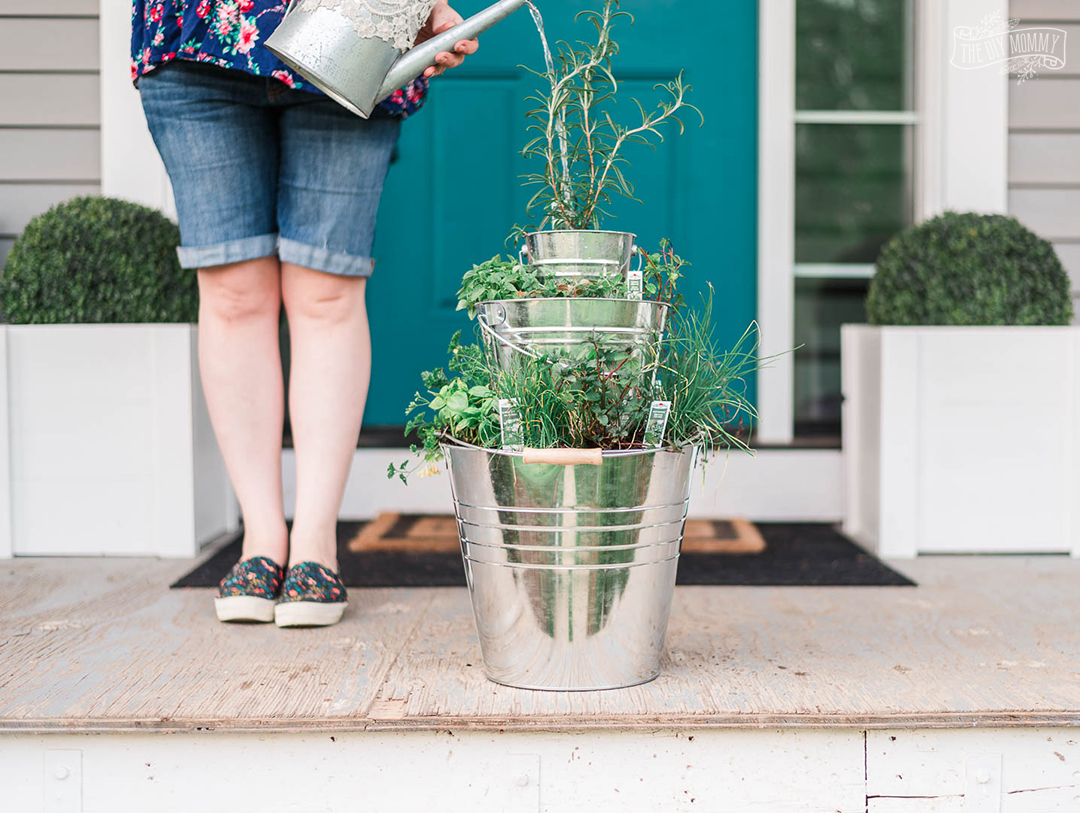 Today’s blog post is in collaboration with some of my favourite blogging friends. After you check out my DIY garden idea, make sure to visit their gardening ideas linked at the bottom of this post!
Here’s how to make an easy DIY tiered herb planter with dollar store buckets:
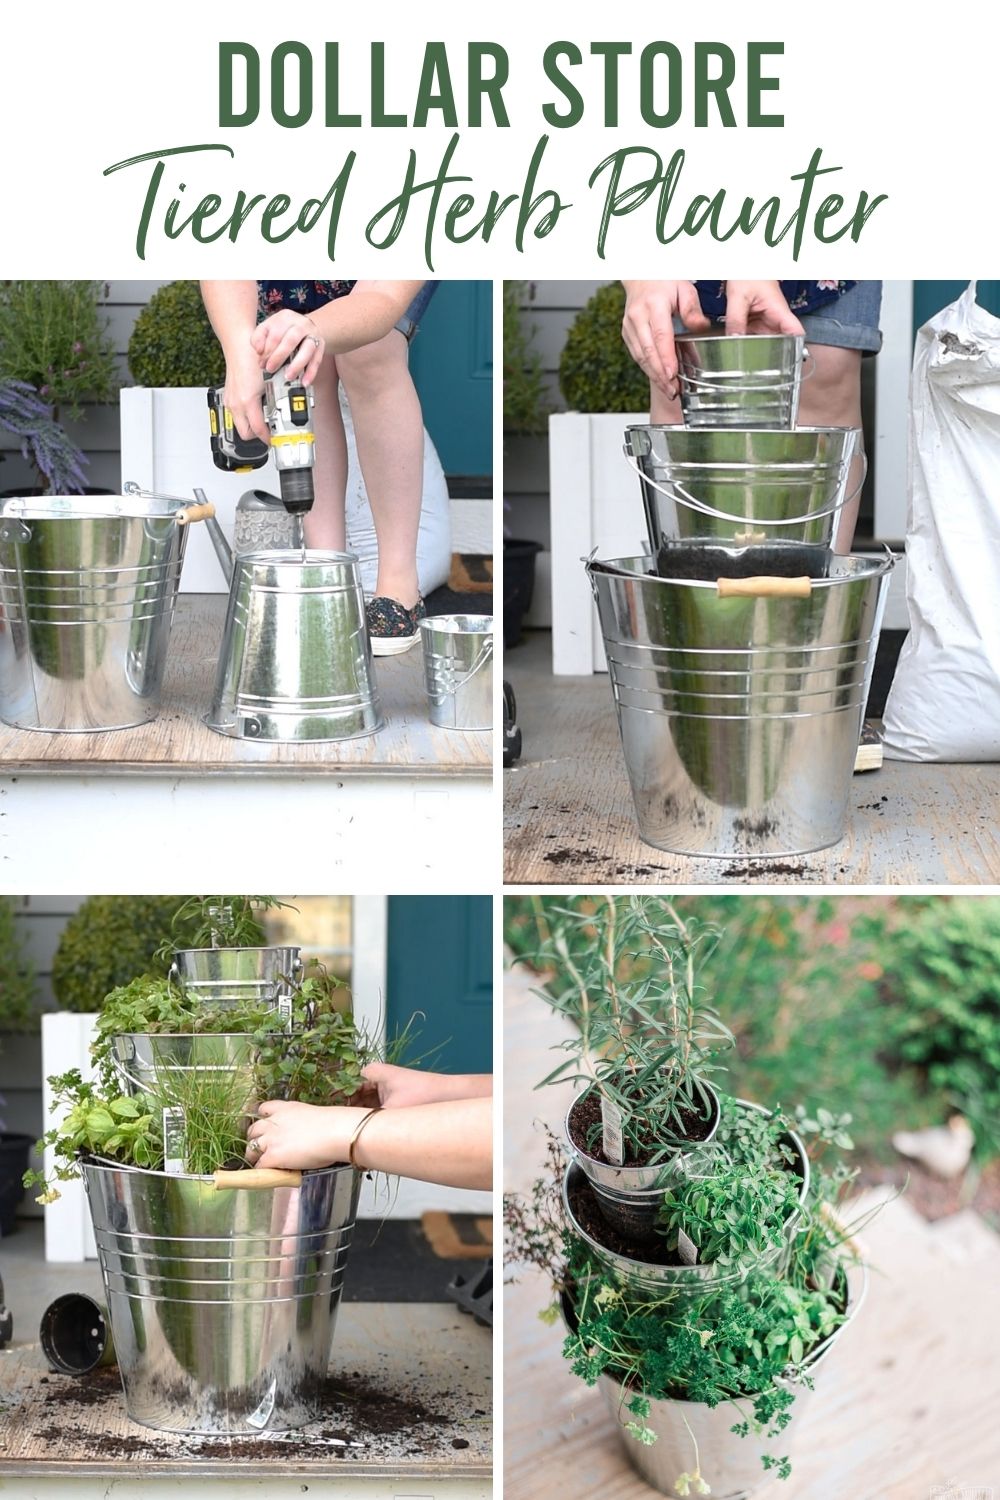
First, purchase three metal buckets from the dollar store in 3 different sizes. Mine are from Dollarama. Then, drill a hole in the bottom of each bucket to help with drainage. Next, fill the largest bucket about 3/4 full with potting soil. Place the middle-sized buck in the center of the large bucket, tucking soil around it to keep it in place. Finally, fill the second bucket with more potting soil and place the smallest bucket in the center of that bucket. Pat more potting soil around it to secure it. Now, you can add the herb plants of your choosing to each layer of buckets. I was able to fit one plant in the top bucket, 3 in the middle bucket, and 6 plants in the largest bucket. Plant your favourite herbs, water them, and enjoy them all Spring and Summer long! My favourites to plant are rosemary, basil, chives, oregano and mint. This tiered herb planter looks pretty on a sunny porch, or amidst a flower garden as a little feature.
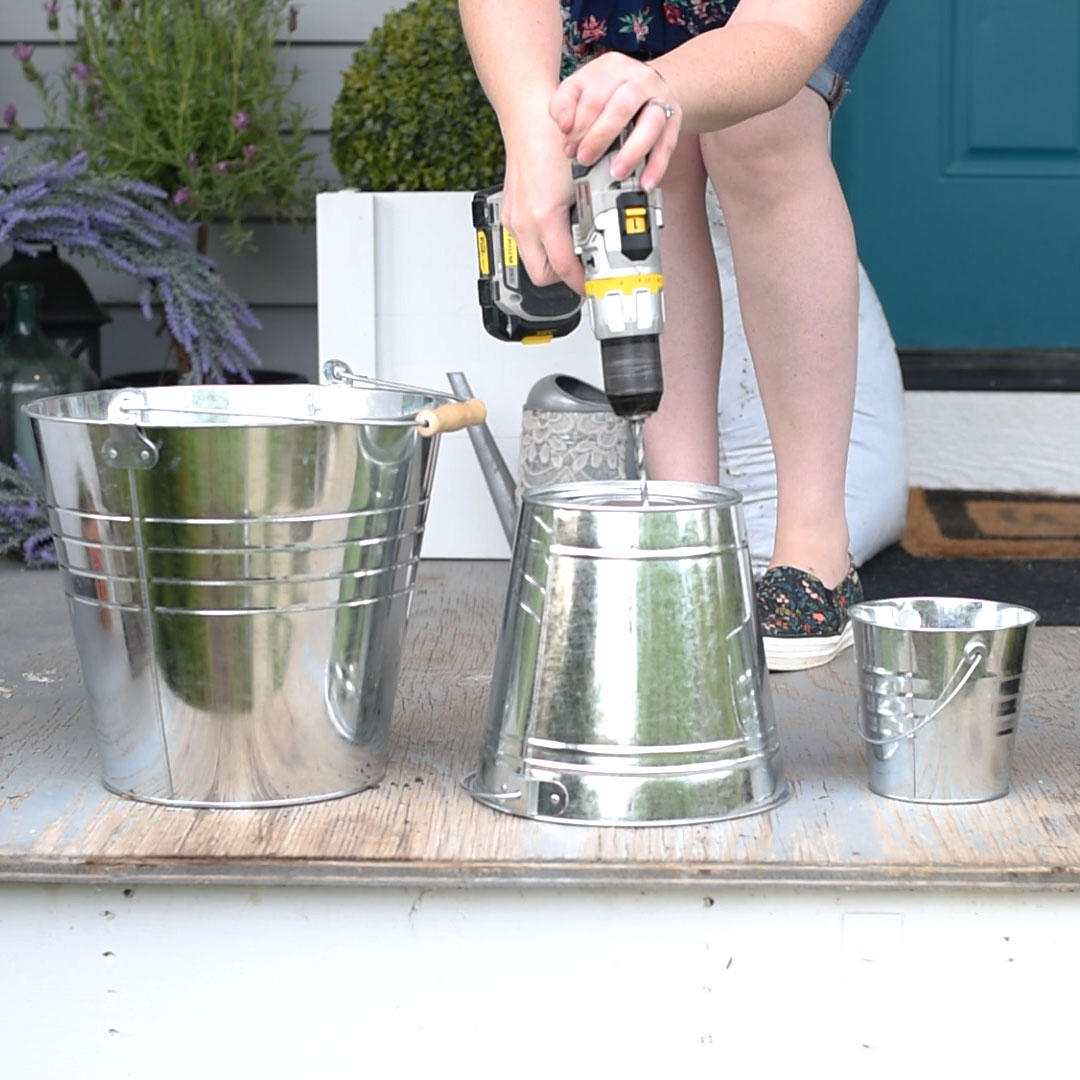 First, purchase three metal buckets from the dollar store in 3 different sizes. Mine are from Dollarama. Then, drill a hole in the bottom of each bucket to help with drainage.
 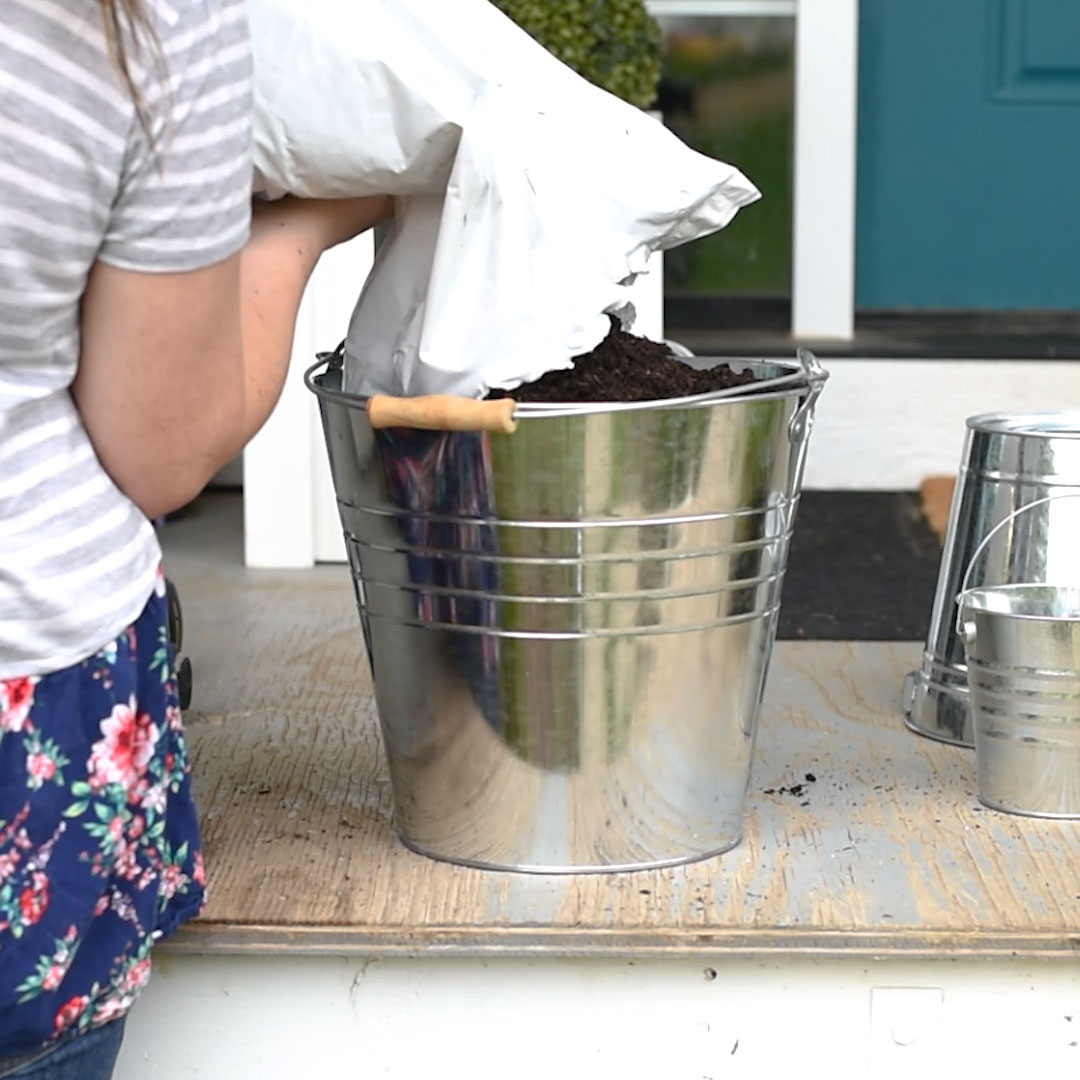 Next, fill the largest bucket about 3/4 full with potting soil.
 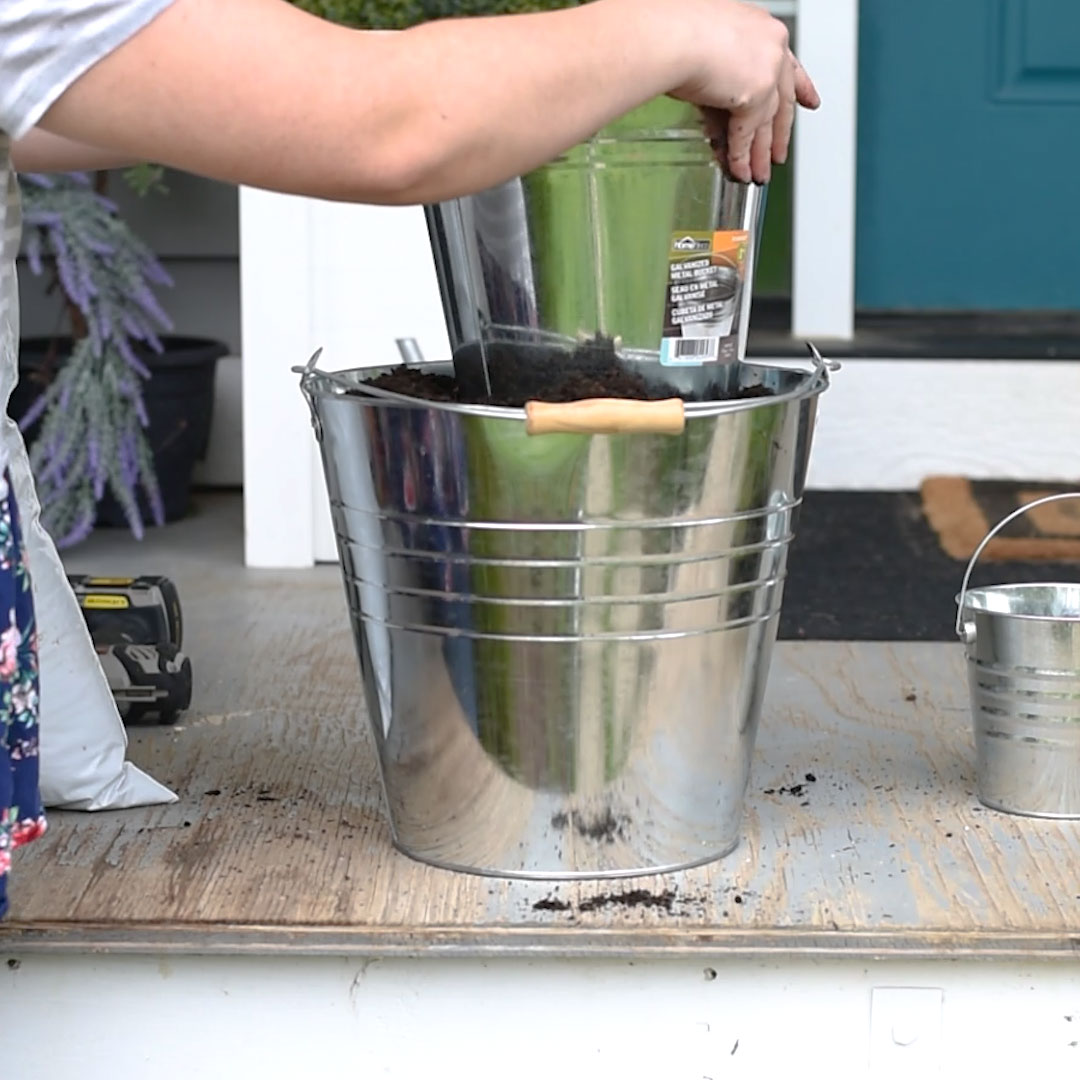 Place the middle-sized buck in the center of the large bucket, tucking soil around it to keep it in place.
 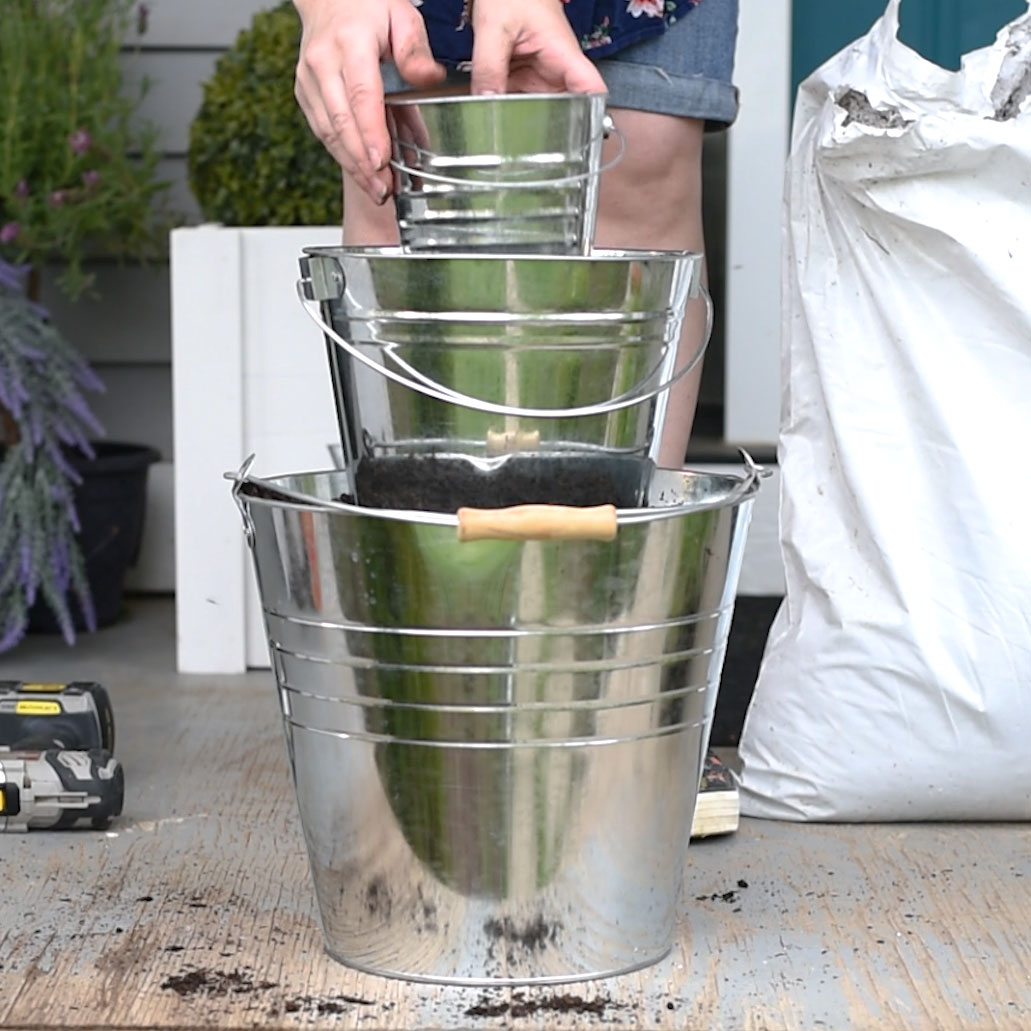 Finally, fill the second bucket with more potting soil and place the smallest bucket in the center of that bucket. Pat more potting soil around it to secure it.
 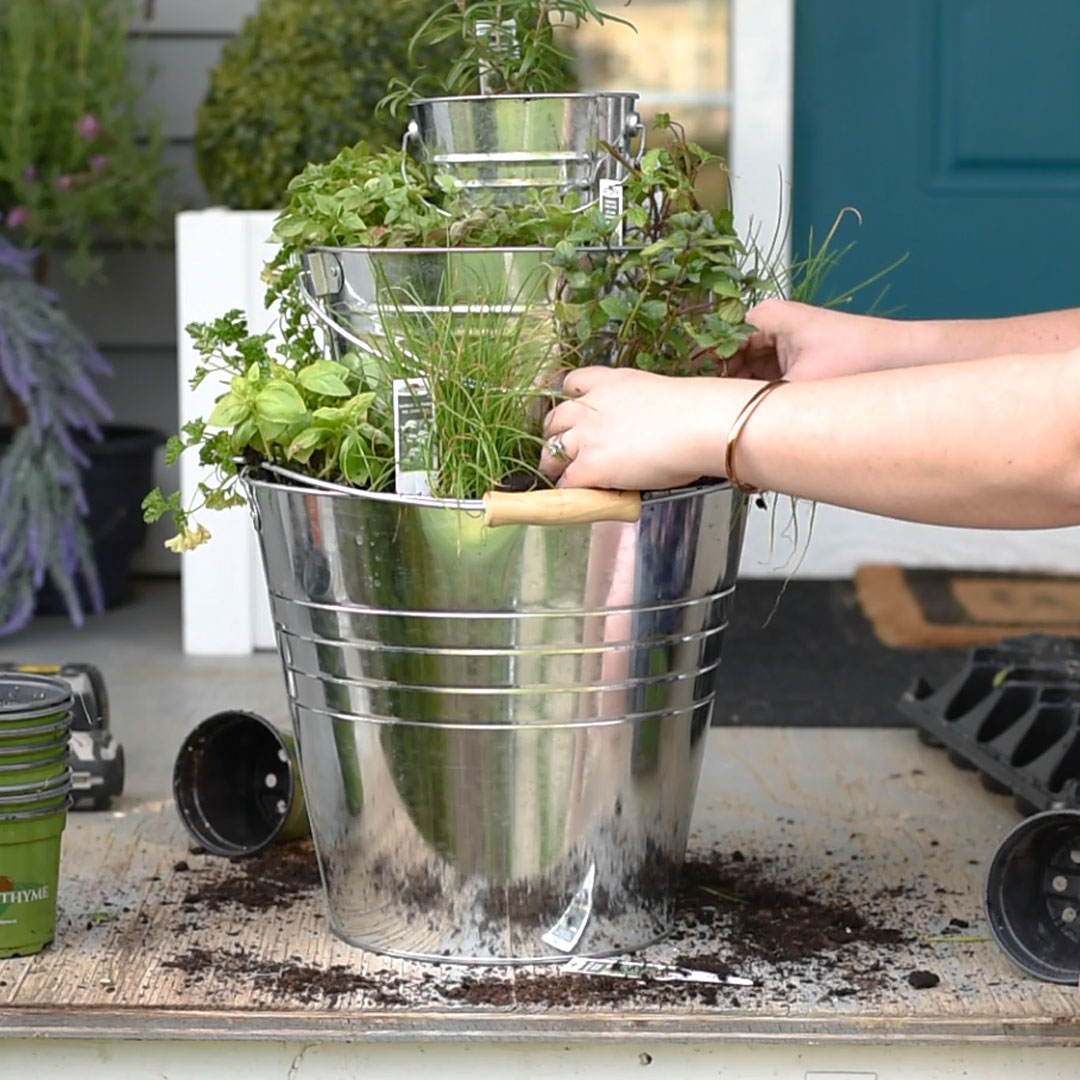 Now, you can add the herb plants of your choosing to each layer of buckets. I was able to fit one plant in the top bucket, 3 in the middle bucket, and 6 plants in the largest bucket.
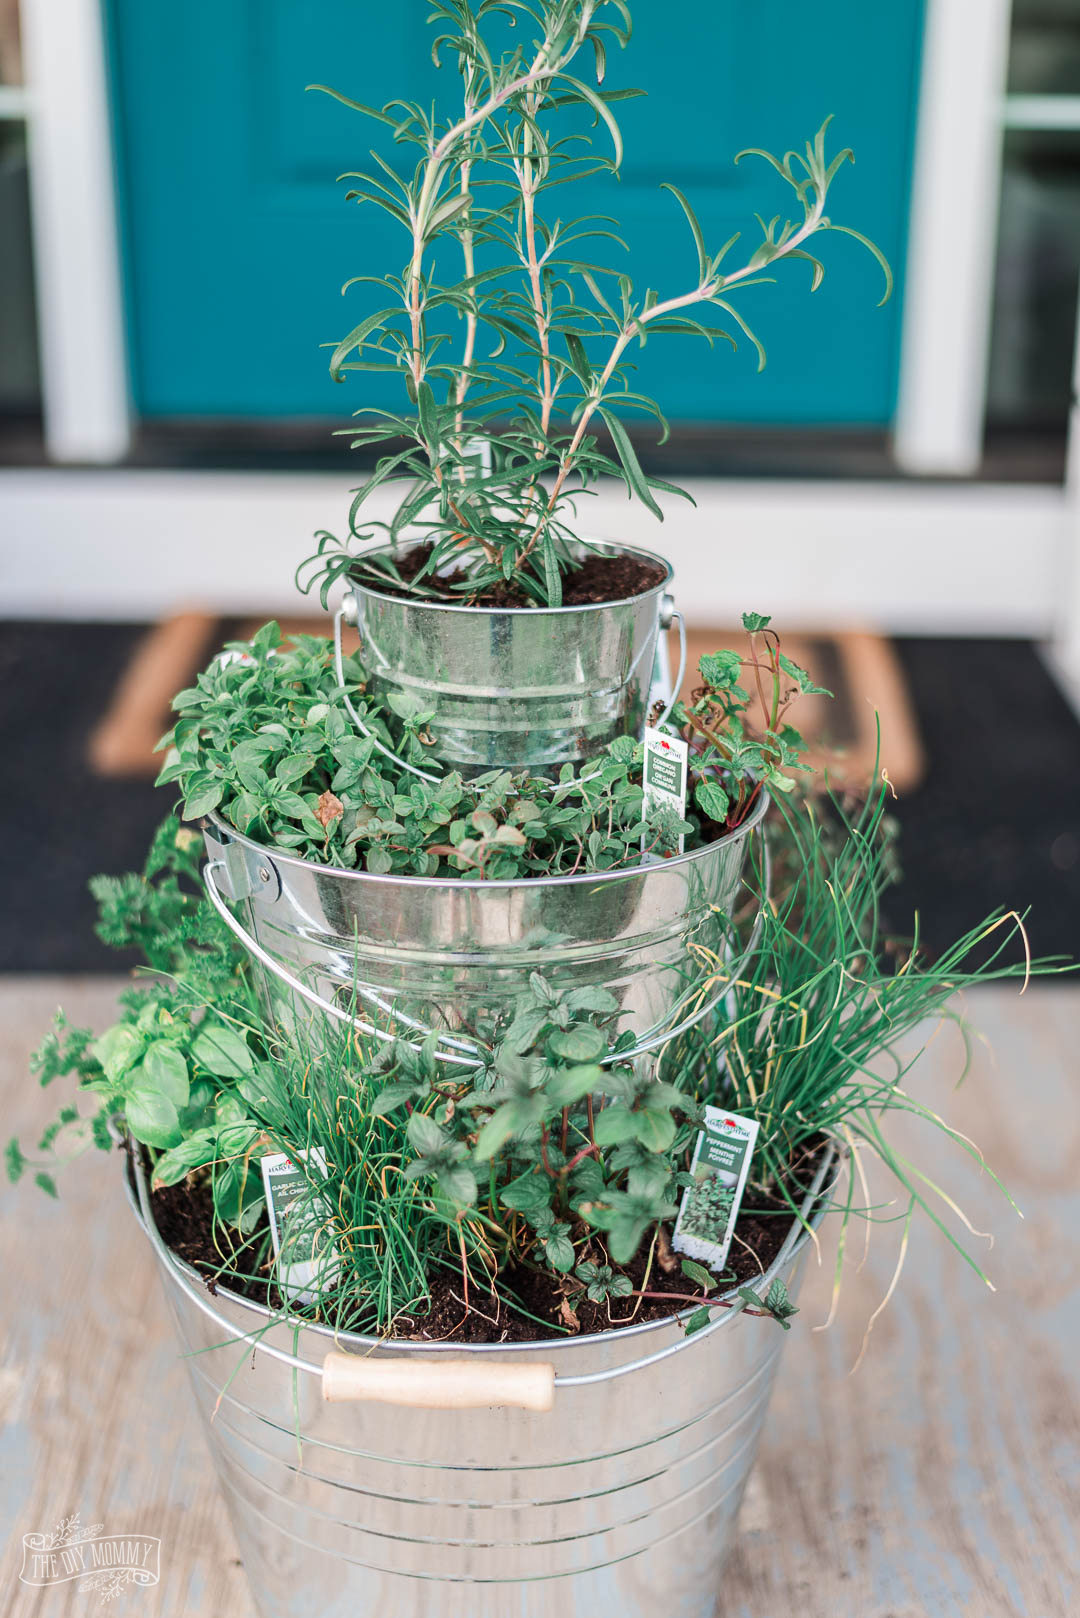
 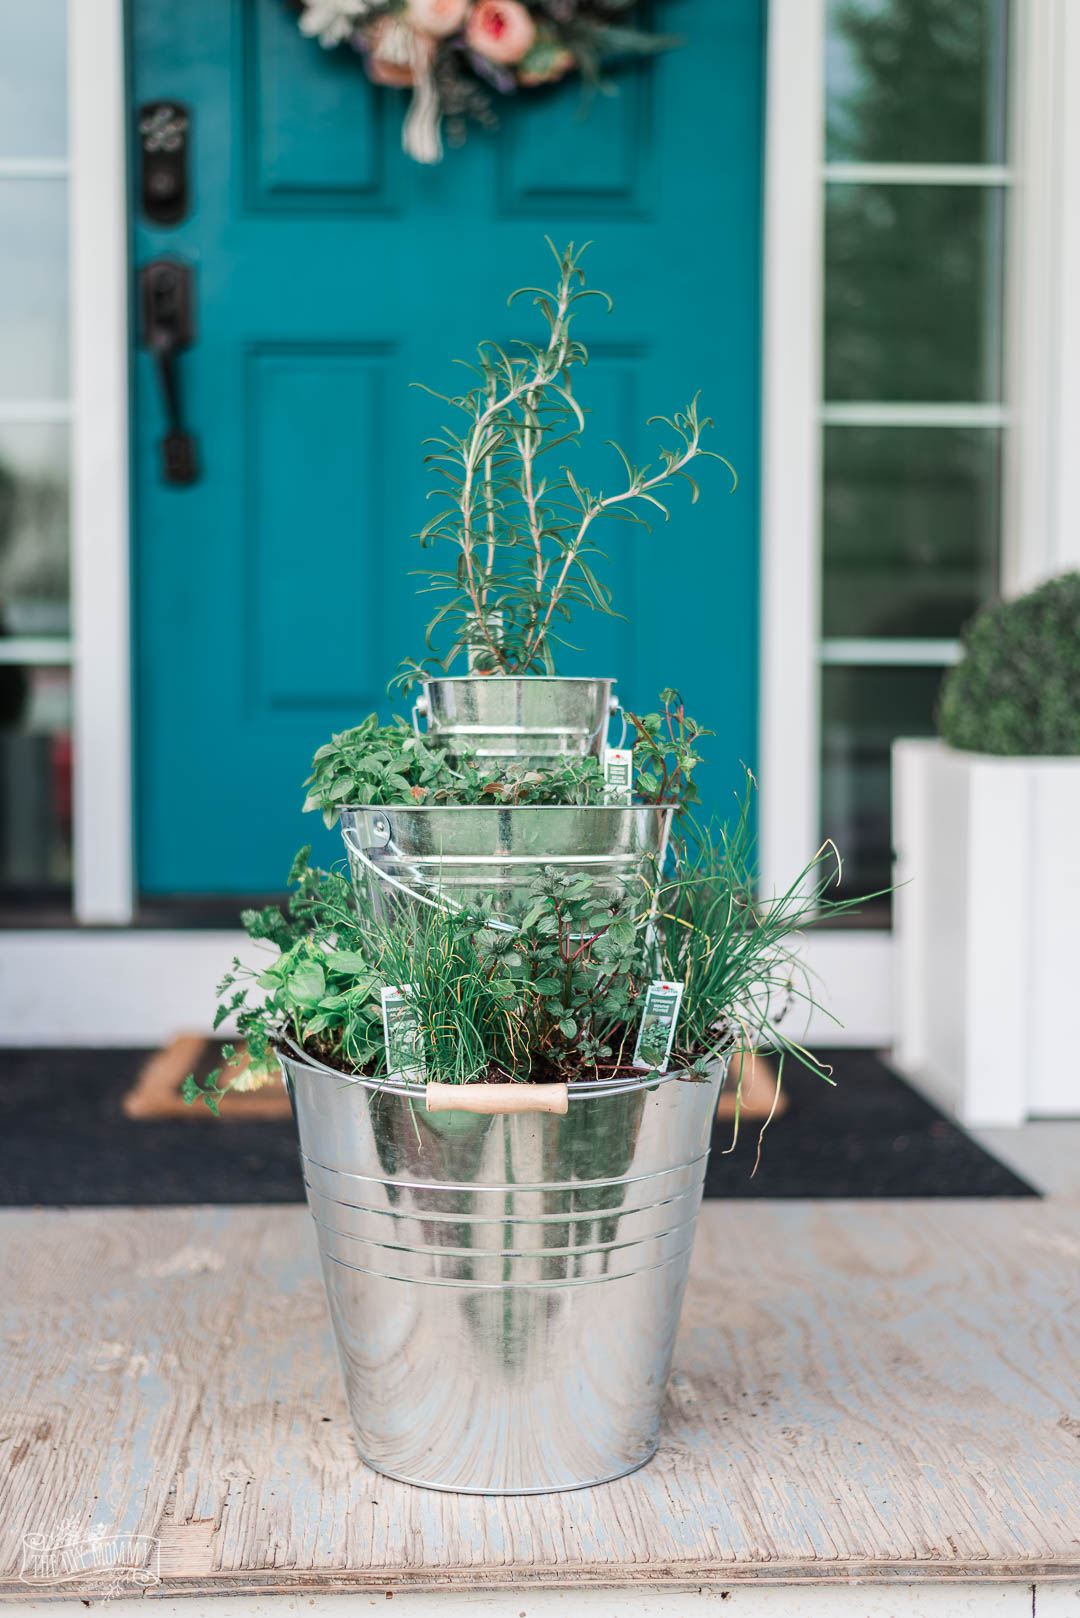 Plant your favourite herbs, water them, and enjoy them all Spring and Summer long! My favourites to plant are rosemary, basil, chives, oregano and mint.
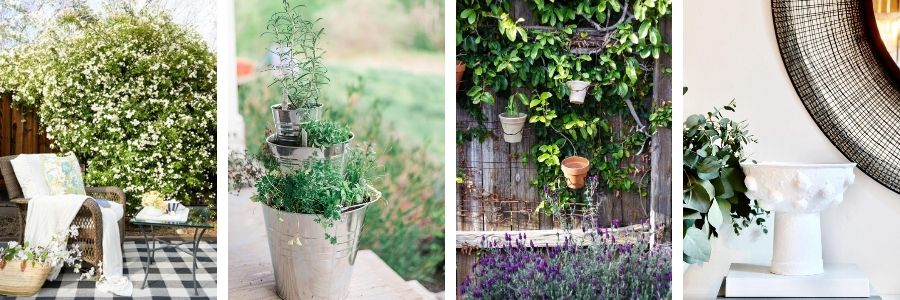
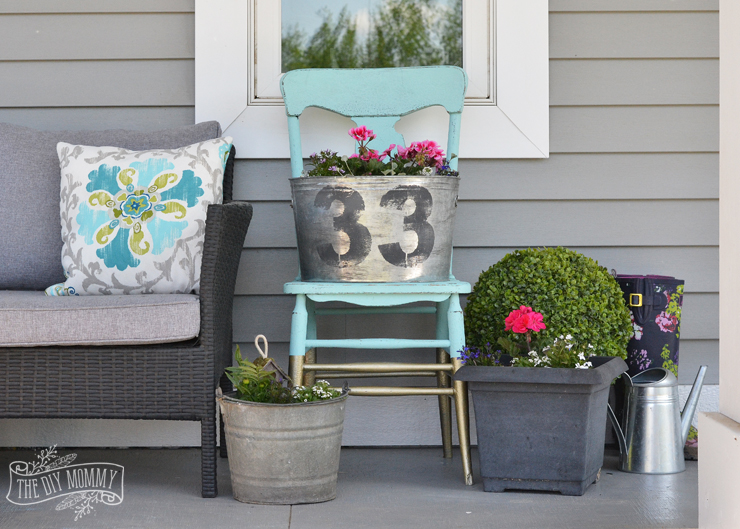
 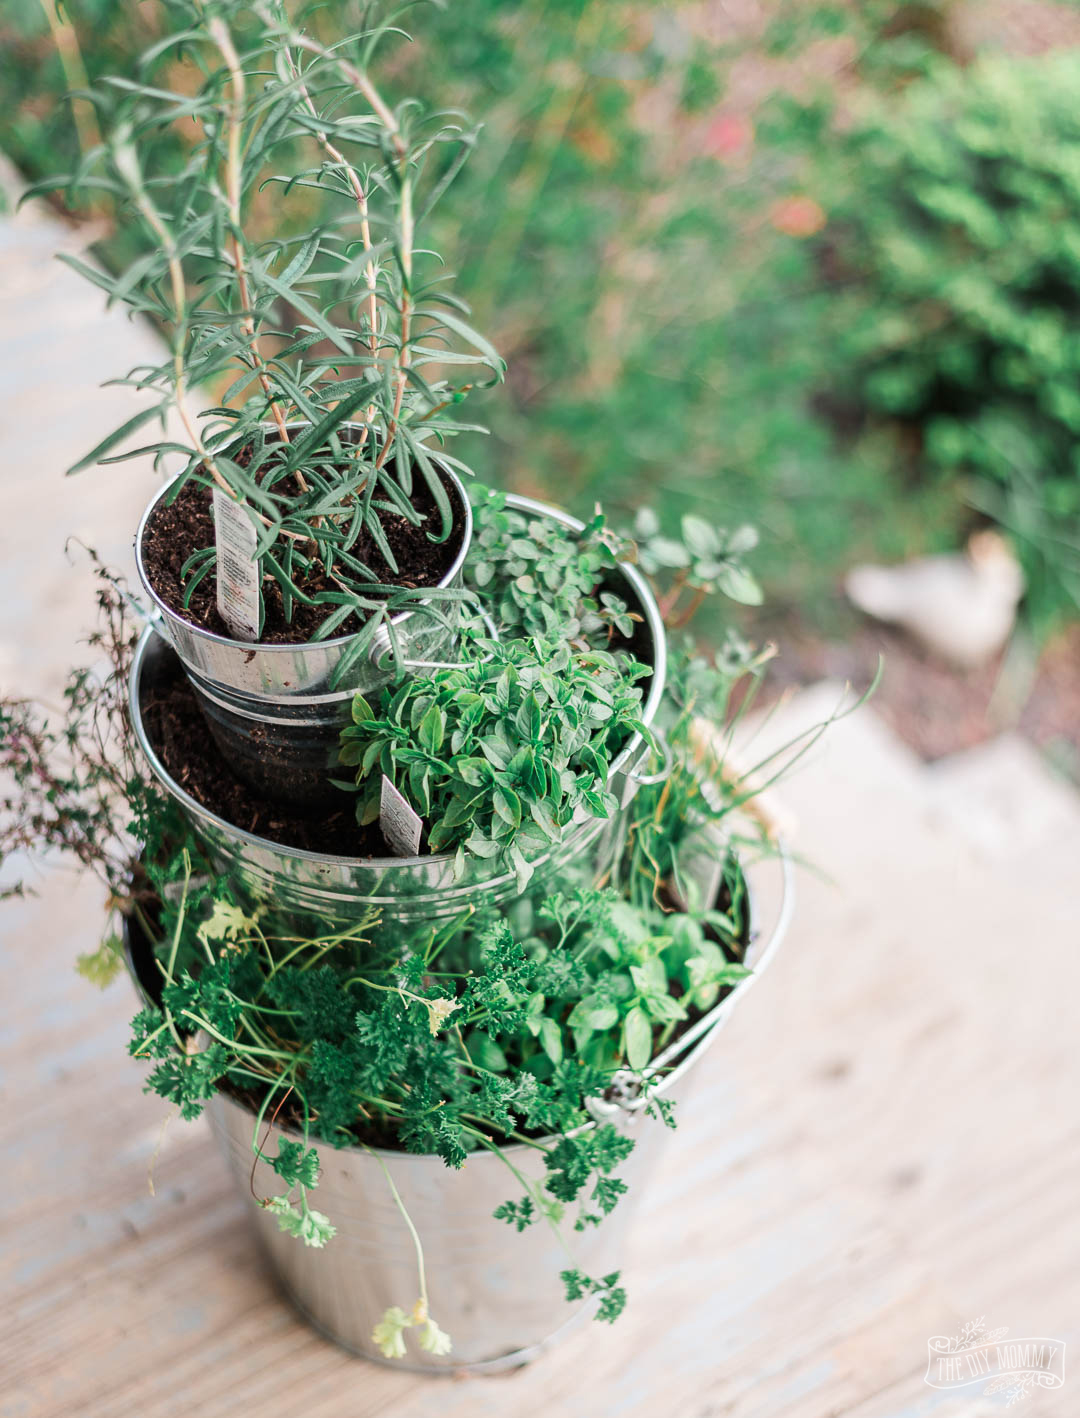 This tiered herb planter looks pretty on a sunny porch, or amidst a flower garden as a little feature.
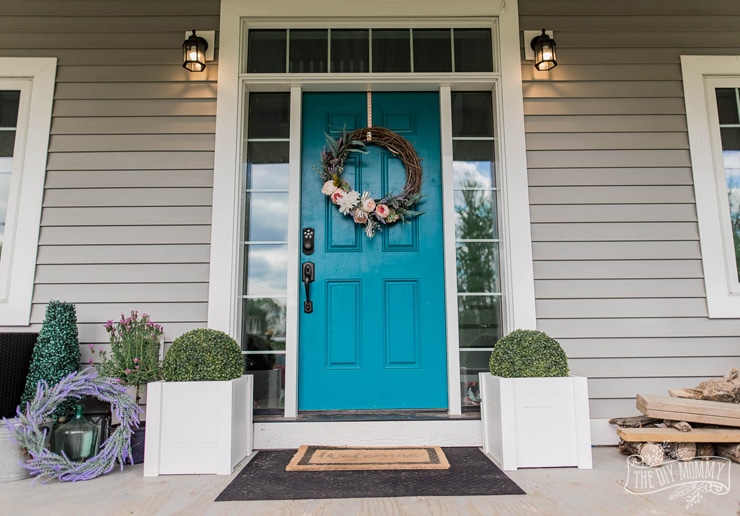
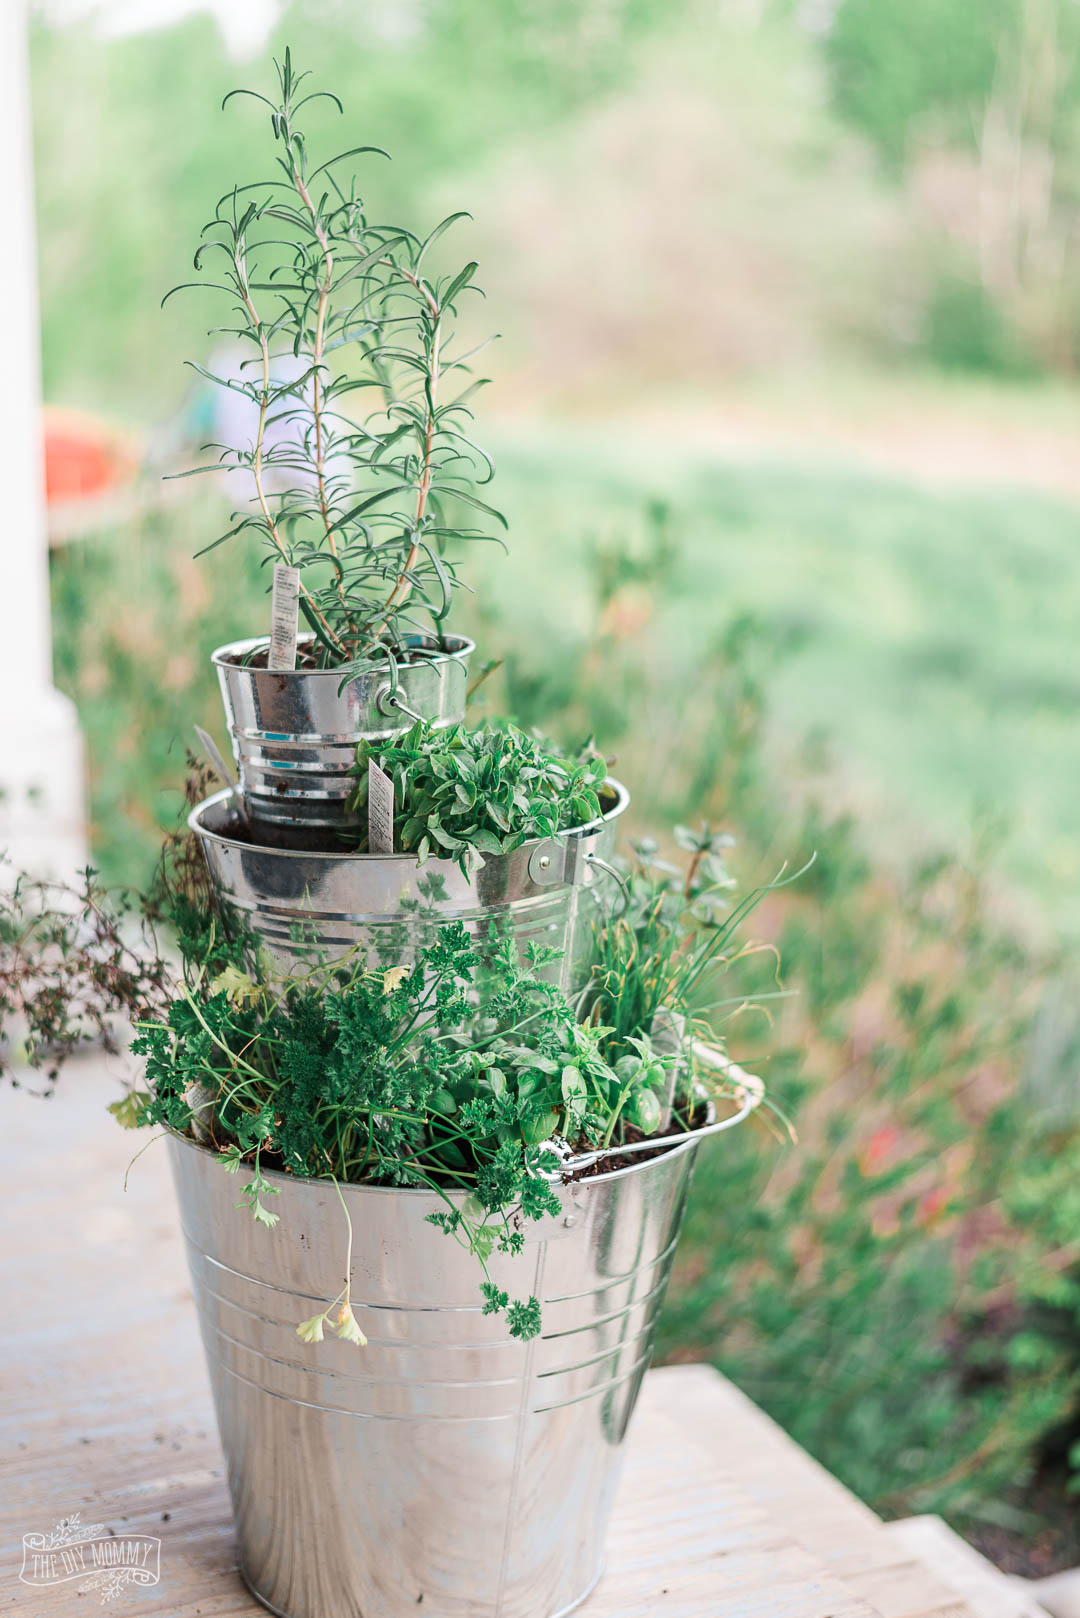
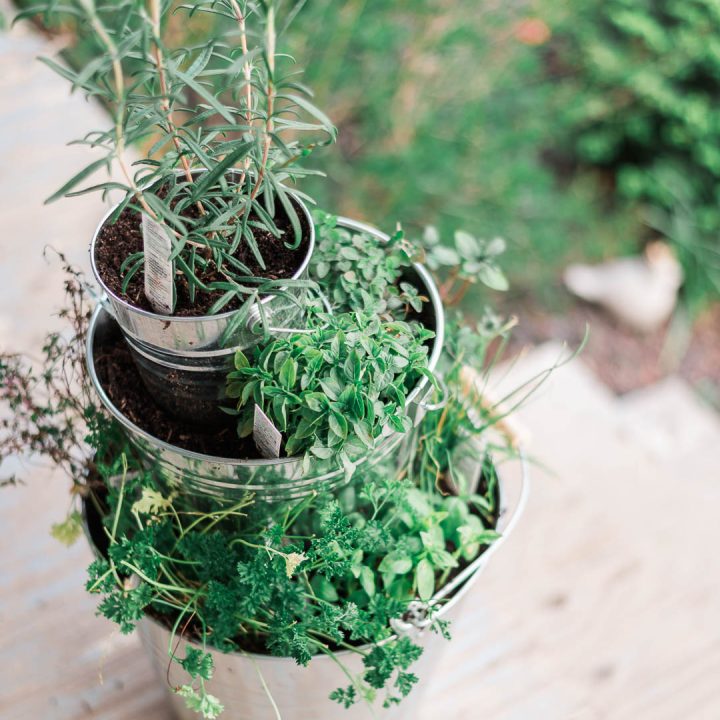
Tiered Herb Planter with Dollar Store Buckets
Let's make a tiered herb planter with metal dollar store buckets! This is a simple DIY, and it's so practical too.
Materials
- Three metal buckets from the dollar store
- Potting soil
- Various herb plants
Tools
- Drill
Instructions
- Drill a hole in the bottom of each bucket to help with drainage.
- Next, fill the largest bucket about ¾ full with potting soil.
- Place the middle-sized bucket in the center of the large bucket, tucking soil around it to keep it in place.
- Fill the second bucket with more potting soil and place the smallest bucket in the center of that bucket. Pat more potting soil around it to secure it.
- Add soil to the smallest bucket.
- Now, you can add the herb plants of your choosing to each layer of buckets. I was able to fit one plant in the top bucket, three in the middle bucket, and six plants in the largest bucket.
- Plant your favourite herbs, water them, and enjoy them all spring and summer long! My favourites are rosemary, basil, chives, oregano and mint.
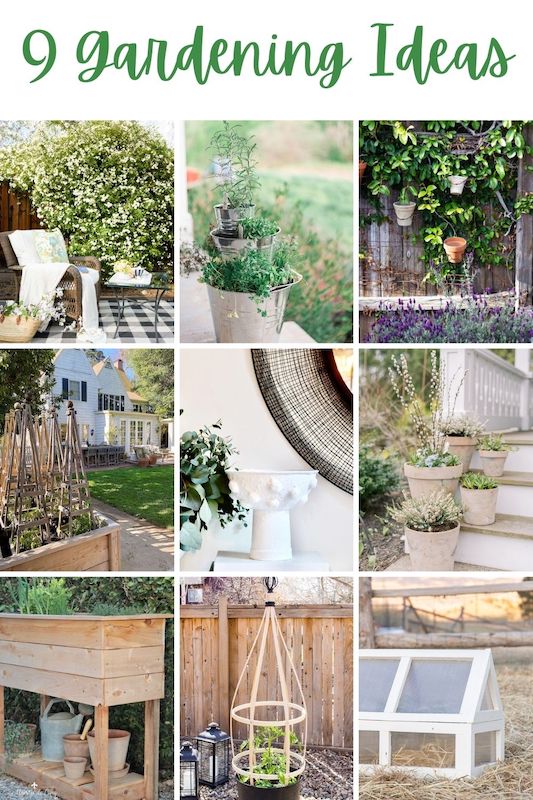
Now it’s time for more DIY gardening ideas from my blogging friends!
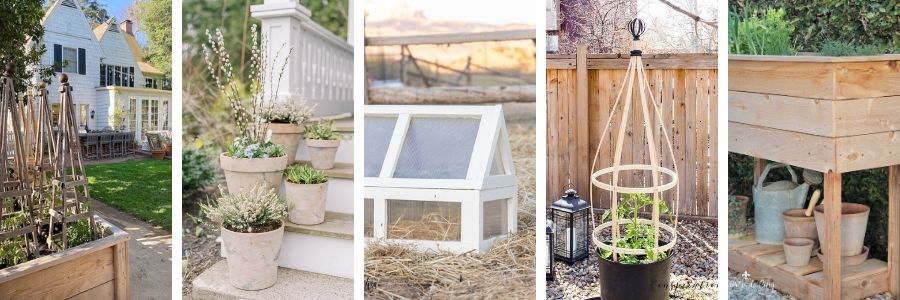
My 100 Year Old Home | How to Grow Tomatoes at Home
Finding Lovely | DIY Aged Terracotta Pots
Twelve on Main | Super Cute DIY Mini Greenhouse
Inspiration for Moms | DIY Planter Trellis
Maison de Cinq | DIY Raised Herb Garden Planter Box
Happy Happy Nester | Lady Banks Rose
The DIY Mommy | Tiered Herb Planter with Dollar Store Buckets
Zevy Joy | Gardening Tips and Ideas From Our New Yard
My Sweet Savannah | DIY modern pedestal planter
Pin Me:
More Budget-Friendly DIY Planter Ideas
Build Easy Wooden Planter Boxes
Learn how to make a farmhouse style DIY wooden planter box. This is such an easy DIY for your front porch!
Make a Faux Vintage Galvanized Planter
As much as I love vintage and antique decor, sometimes I just can’t find what I’m looking for at the price I can afford. So, I made my own faux vintage galvanized planter that I think looks really close to the real, antique thing! Here’s how I made it.
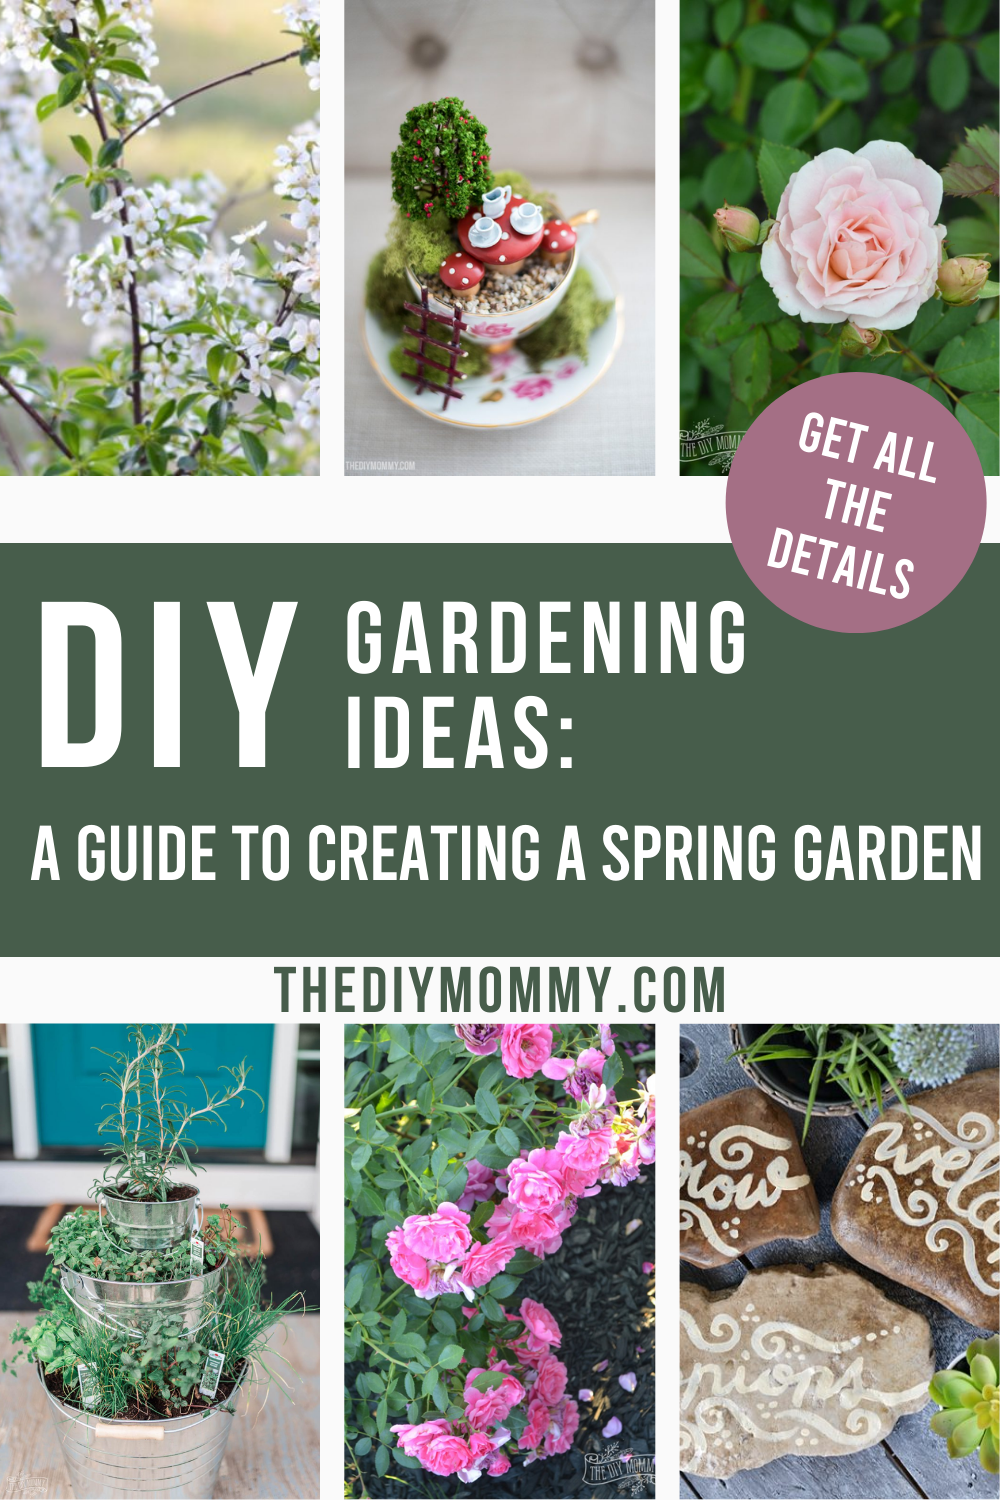
DIY Gardening Ideas: A Guide to Creating a Spring Garden
Whether you are starting fresh with new landscaping just waiting for you to bring it to life for the first time, or looking to refresh and add to your existing gardens, I’ve collected tips and tricks and ideas on plants, DIY decor, and of course some fairy garden whimsy.
6 Comments